Indoor cannabis

Growing Marijuana Indoors; A Beginners Guide

As users of herb, it makes sense that growing our own bud would be the ideal situation. You may be thinking, “That sounds way too difficult and risky” but the reality is, it isn’t. With marijuana steadily becoming legal around the United States, the odds that your local police department will be knocking on your door for a few plants are relatively low. Just remember, loose lips sink ships.

I won’t lie, this project isn’t’ for the person that’s looking to throw some seeds they found in the bottom of their plastic baggie into a pot and stick in under a grow light in the basement. Sure, you might get a sprout but the reality is growing weed is a fairly simple project with a lot of distinct steps that any beginner could do, if they dedicate the time to do it right.
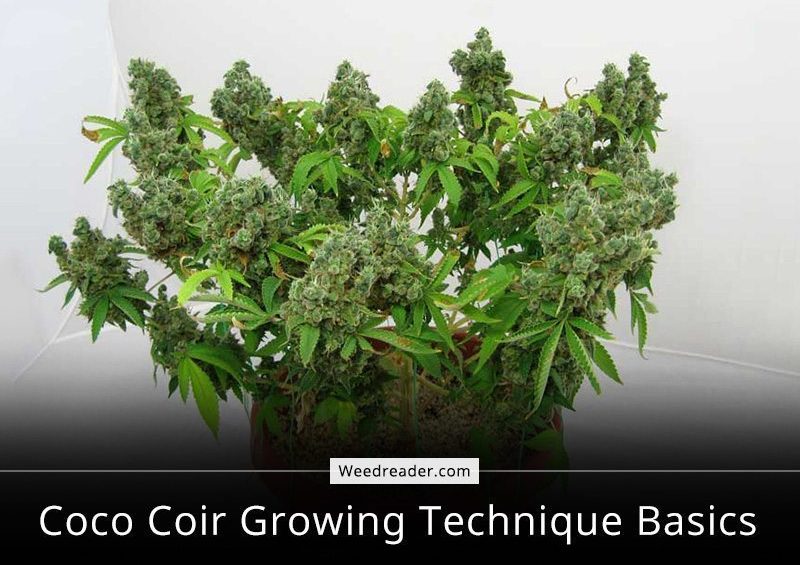
Why Grow?

If you are a regular user of marijuana then there are quite a few reasons why you should consider growing your own plant(s).

Save Money

How much do you spend on buying pot? Probably anywhere from fifty to well over a hundred dollars for a quarter ounce and how long that lasts depends on the frequency in which you smoke. Some folks spend over a hundred dollars or more a month on marijuana, continually over the span of years and years. This adds up.

For a smalls start-up cost, if you cultivate your plants well, this recurring charge could disappear.

Know What You’re Getting

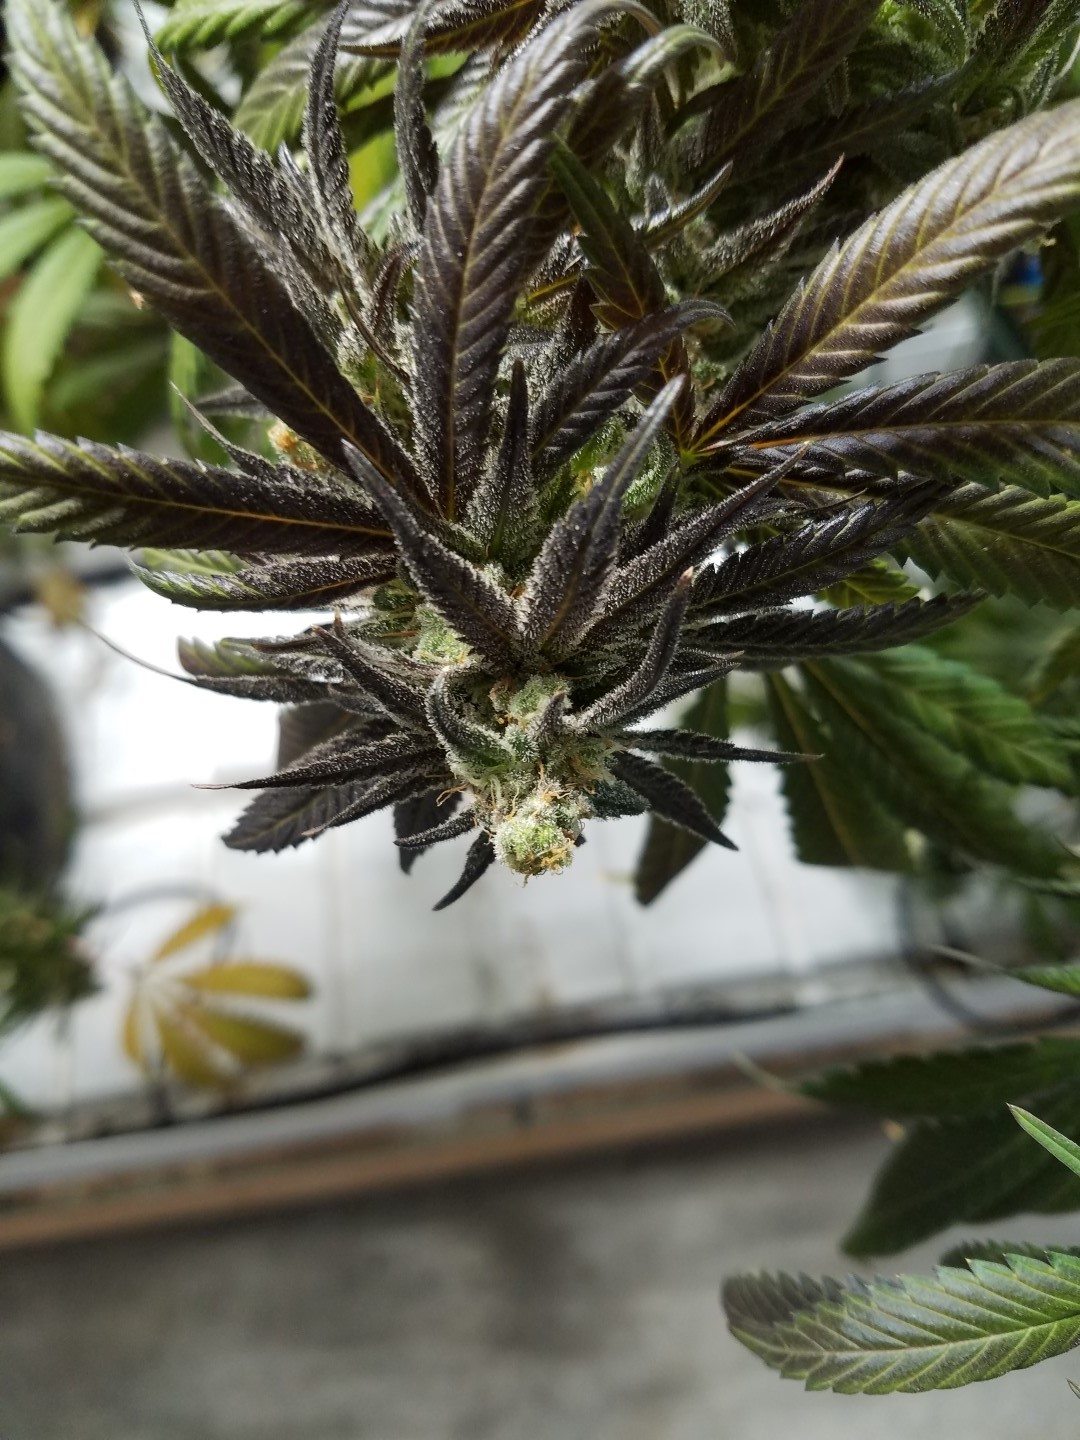
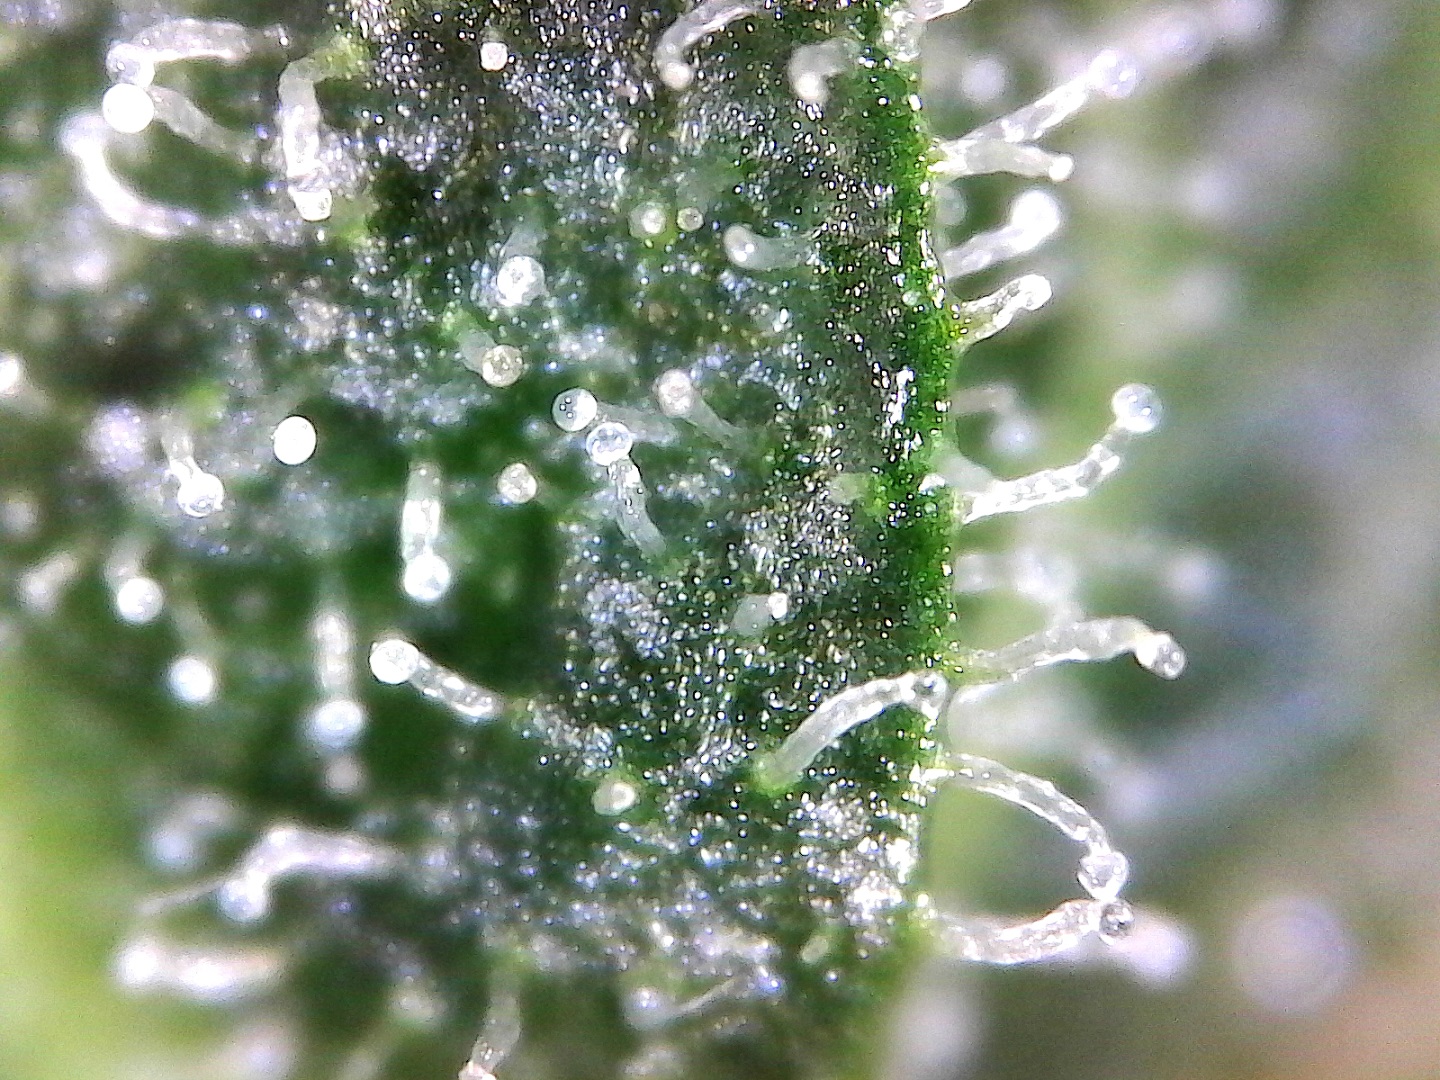
When you grow your own, you know that it’s free of chemicals and pesticides. Just like eating vegetables from your own garden, it doesn’t get much purer than smoking the weed you grew.

Constant Supply

If you do this correctly, you can swing it where they flower on a regular basis, which will get rid of any dry spells your supplier might be going through. You’ll know how to ration between flowering stages so you always have a bud on hand.

Free From Trouble

Marijuana is legal in some states, it is still illegal in others. On top of that, marijuana is still considered a schedule in narcotic by the United States Federal Government. This makes purchasing without a card trick and leaves smokers who imbibe for reasons that don’t warrant medical approval stuck buying from street dealers.

When you have your own supply, you can keep your harvest hidden for yourself. It is important to be discreet. Local law enforcement will come snooping if you get too cocky.

What You Need

Before I can tell you how to grow your own marijuana plants, it’s important that you have all the proper equipment. It may cost a little up front, but when you reap a great harvest the money you will save when you stop purchasing.
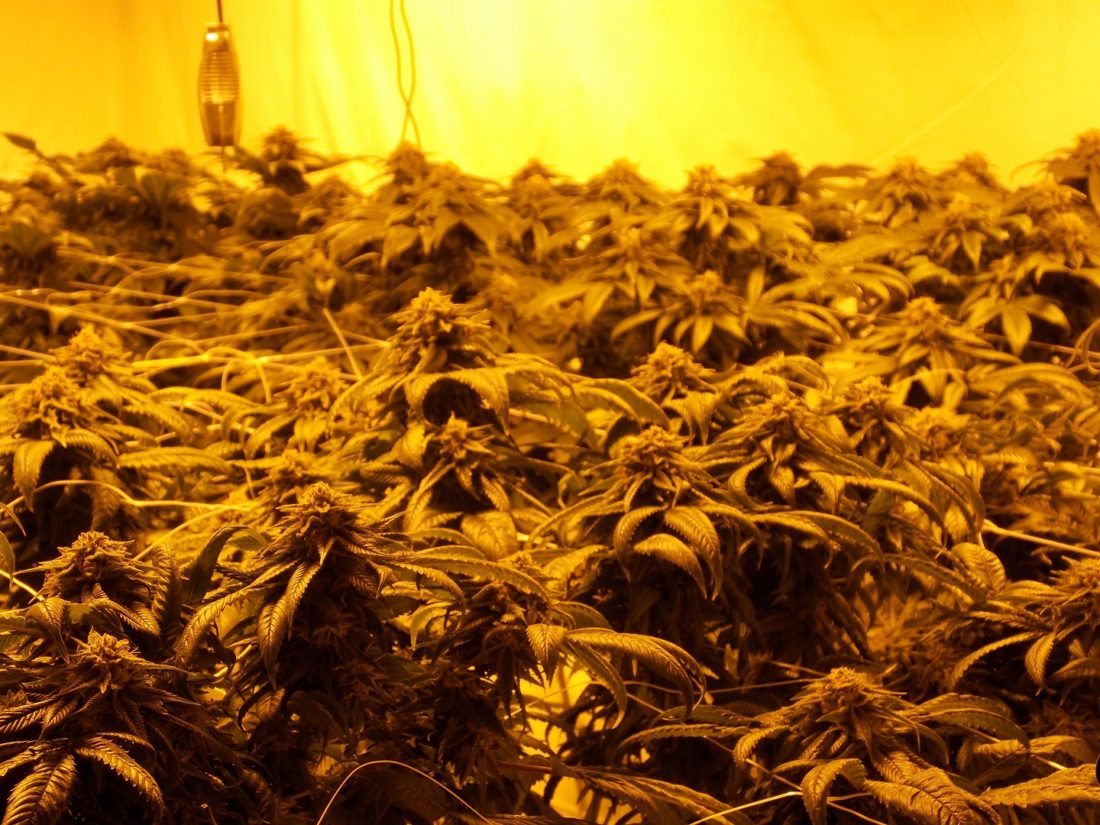
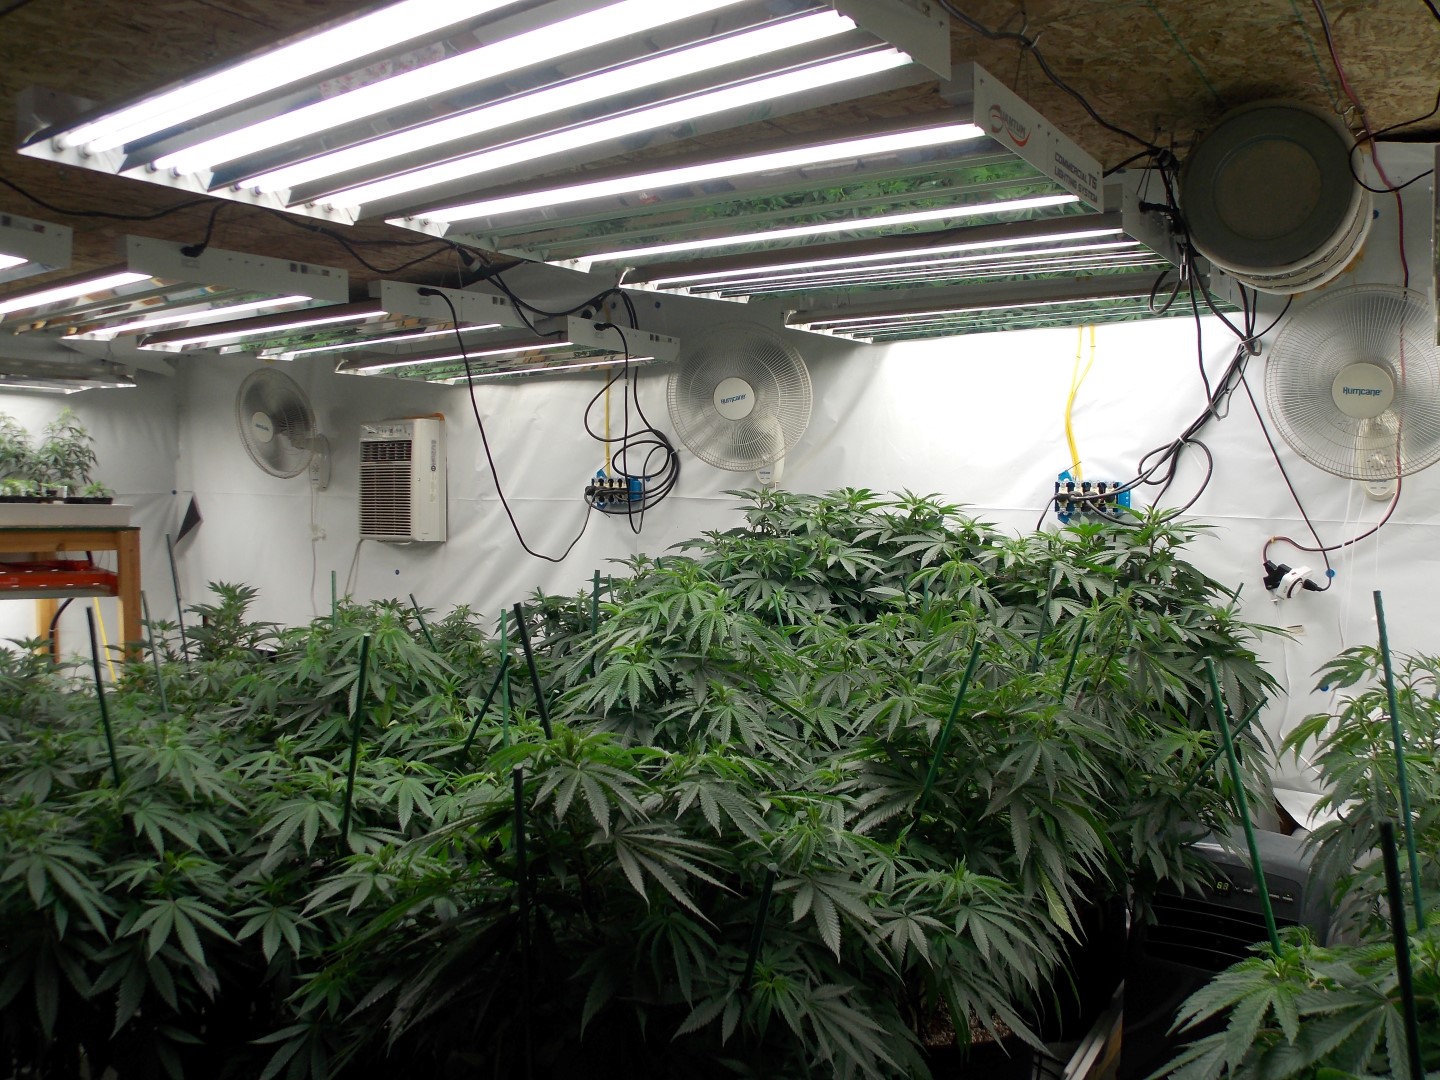
Grow Lights

Good light is one of the most important factors in keeping a couple marijuana plants healthy and productive. When you choose to grow indoors you can’t exactly leave a plant sitting in your window for reasons we spoke about and, even if you could display your weed plant for the whole neighborhood to see, this wouldn’t be the most efficient way to get the best harvest.

During different stages of growth, the amount of light your plants will need will vary. Your best option is to get a grow light with a timer. Otherwise, you will need to be home at certain times every day to turn the lights on and off. If you are unfamiliar with the products out there this guide will teach you how to choose a grow light.

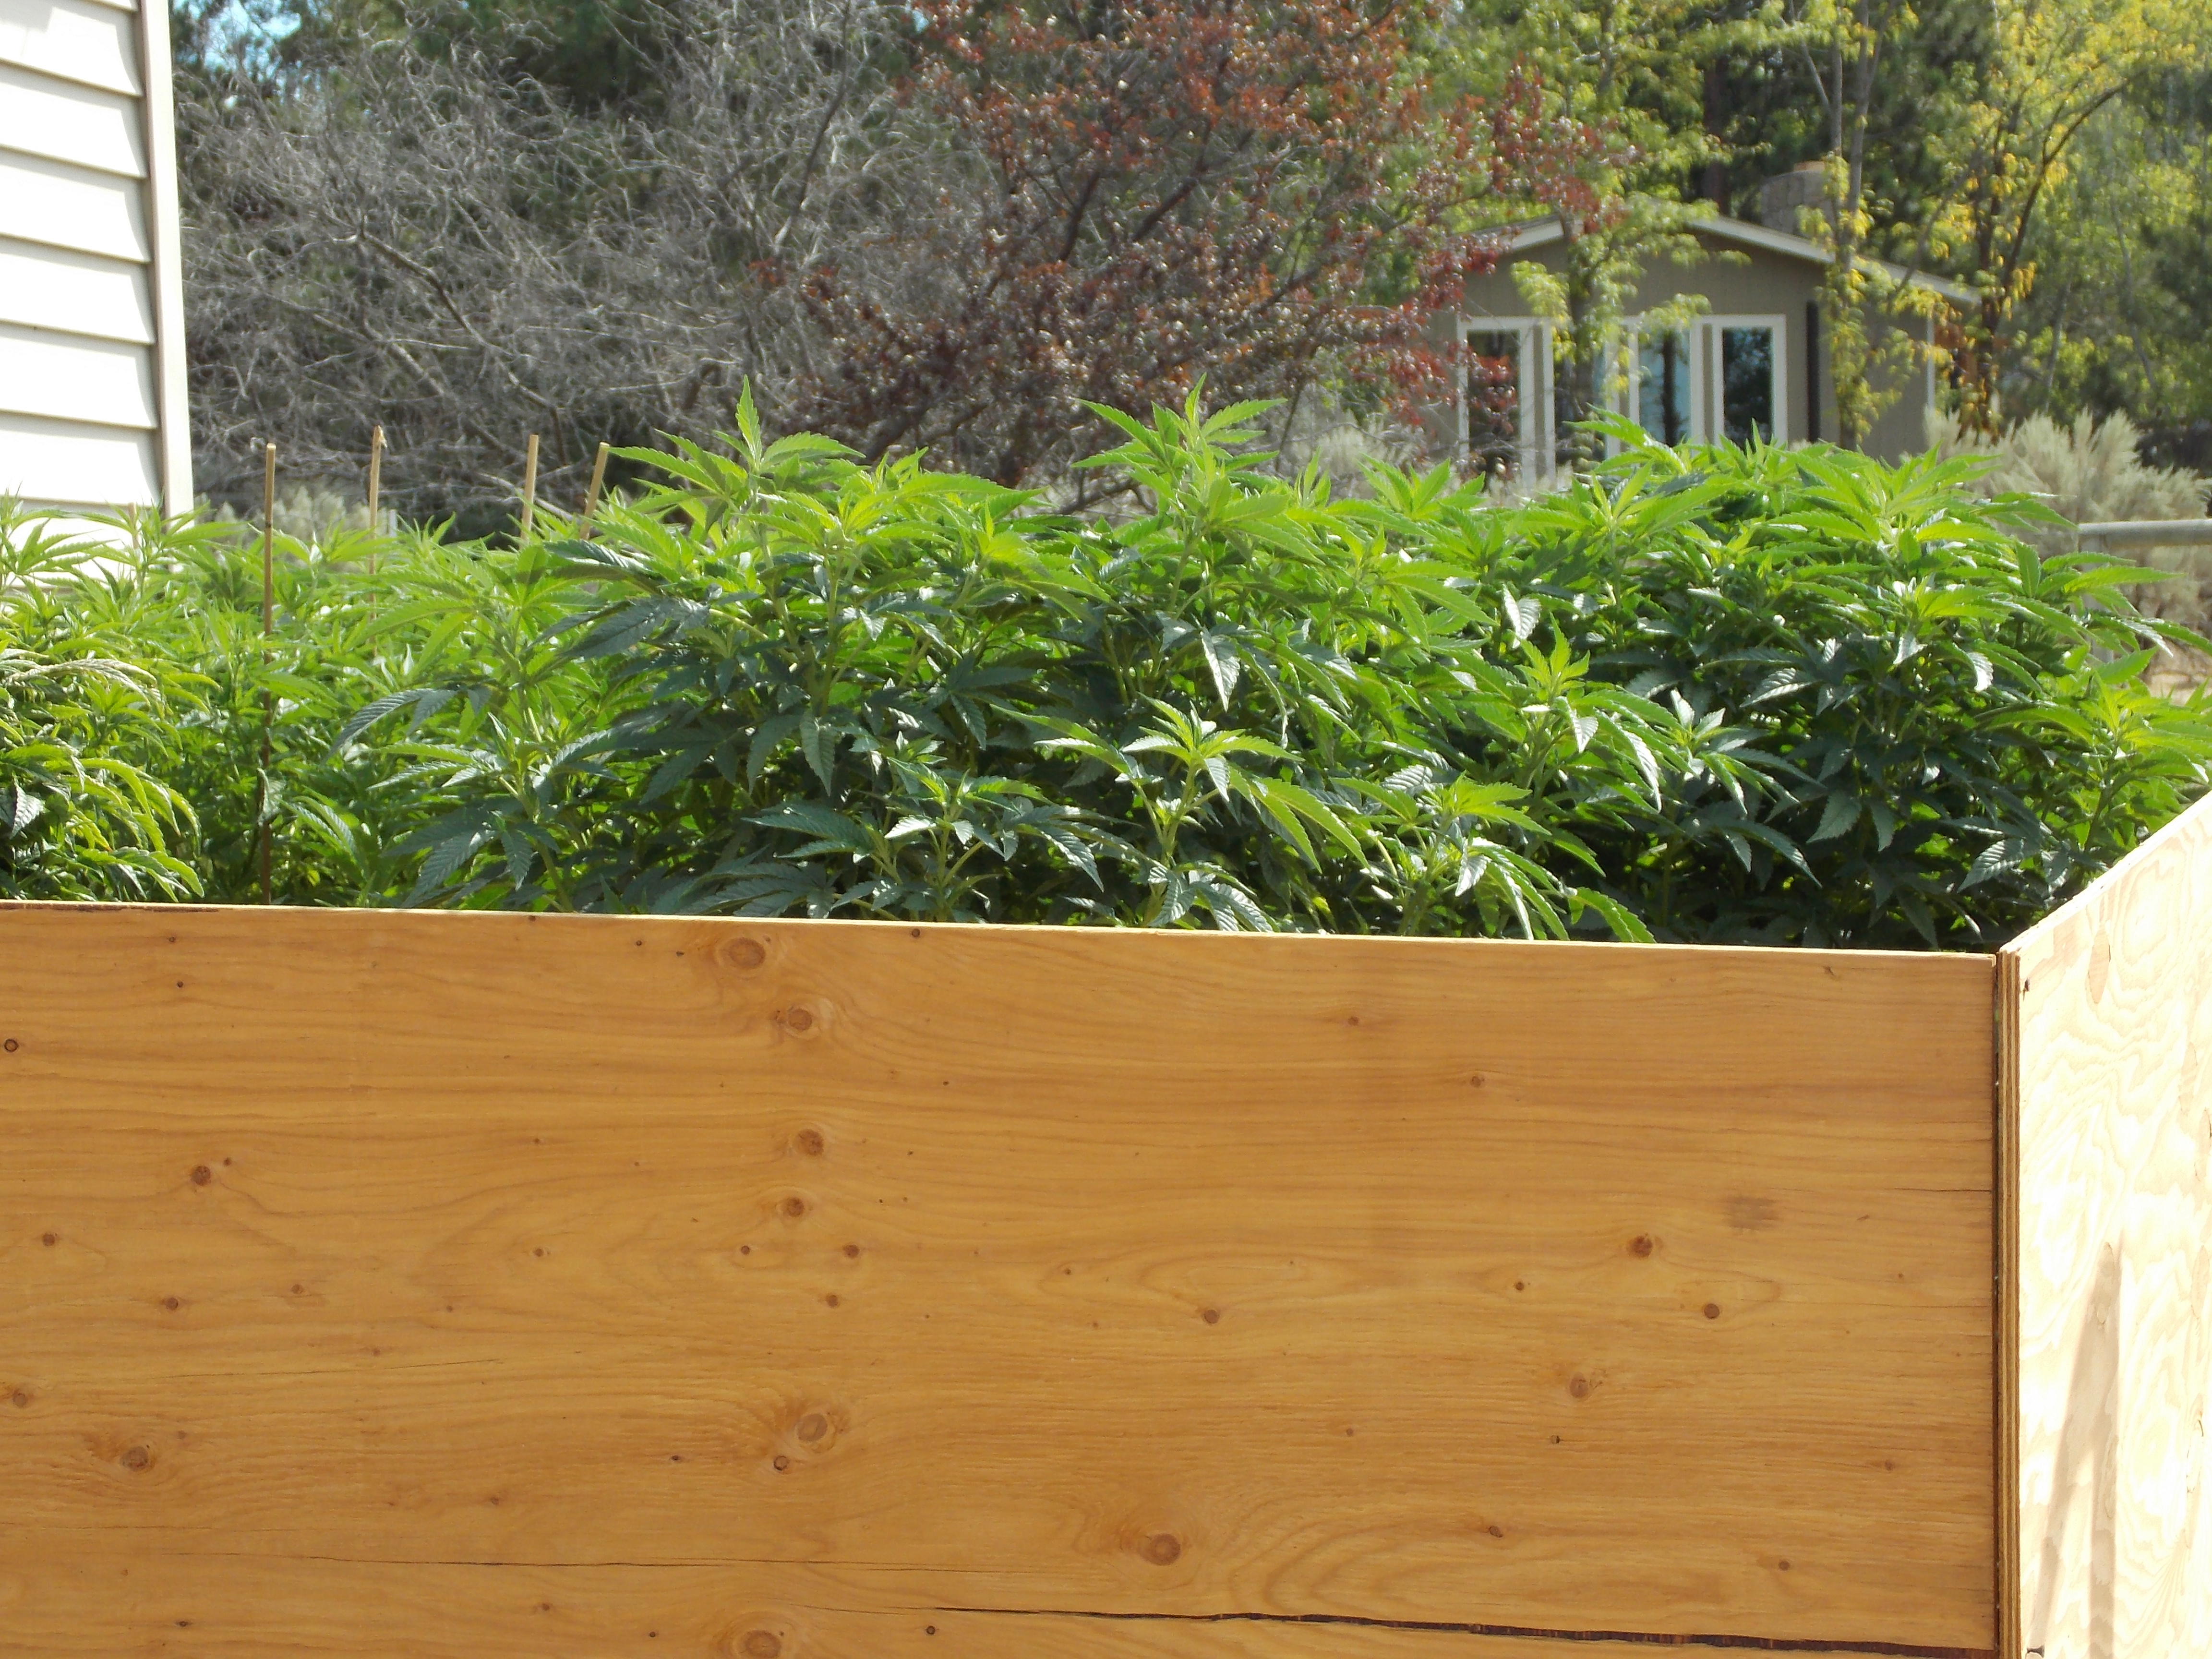
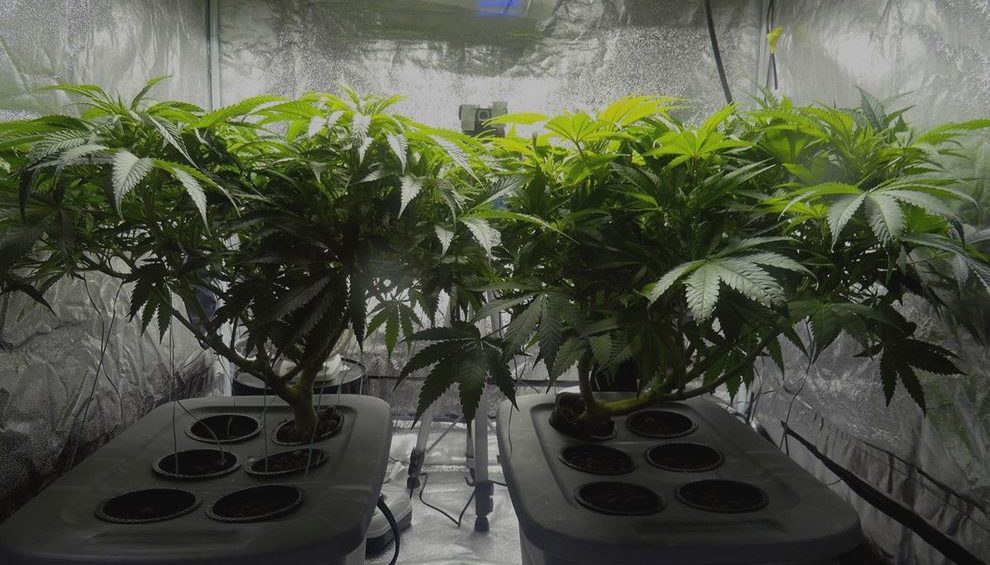
Plenty Of Room And A Tent

Find a good place out of the way and take a look at what grow tents are on the market. Get a tent that will fit in that space. They are fairly cheap and easy to put up and take down. Some tents are elaborate but, as a beginner, it’s always best to start small with any new project and let it grow into a hobby with fancy gadgets.

Exhaust Fan And Activated Carbon Filter

These can be sold together or on their own. You need both and if you buy them separately then make sure they will fit one another. This will keep the air in the tent from getting stagnant and give your new friends a healthy environment to grow in. It will also combat the heat and get rid of any odors.

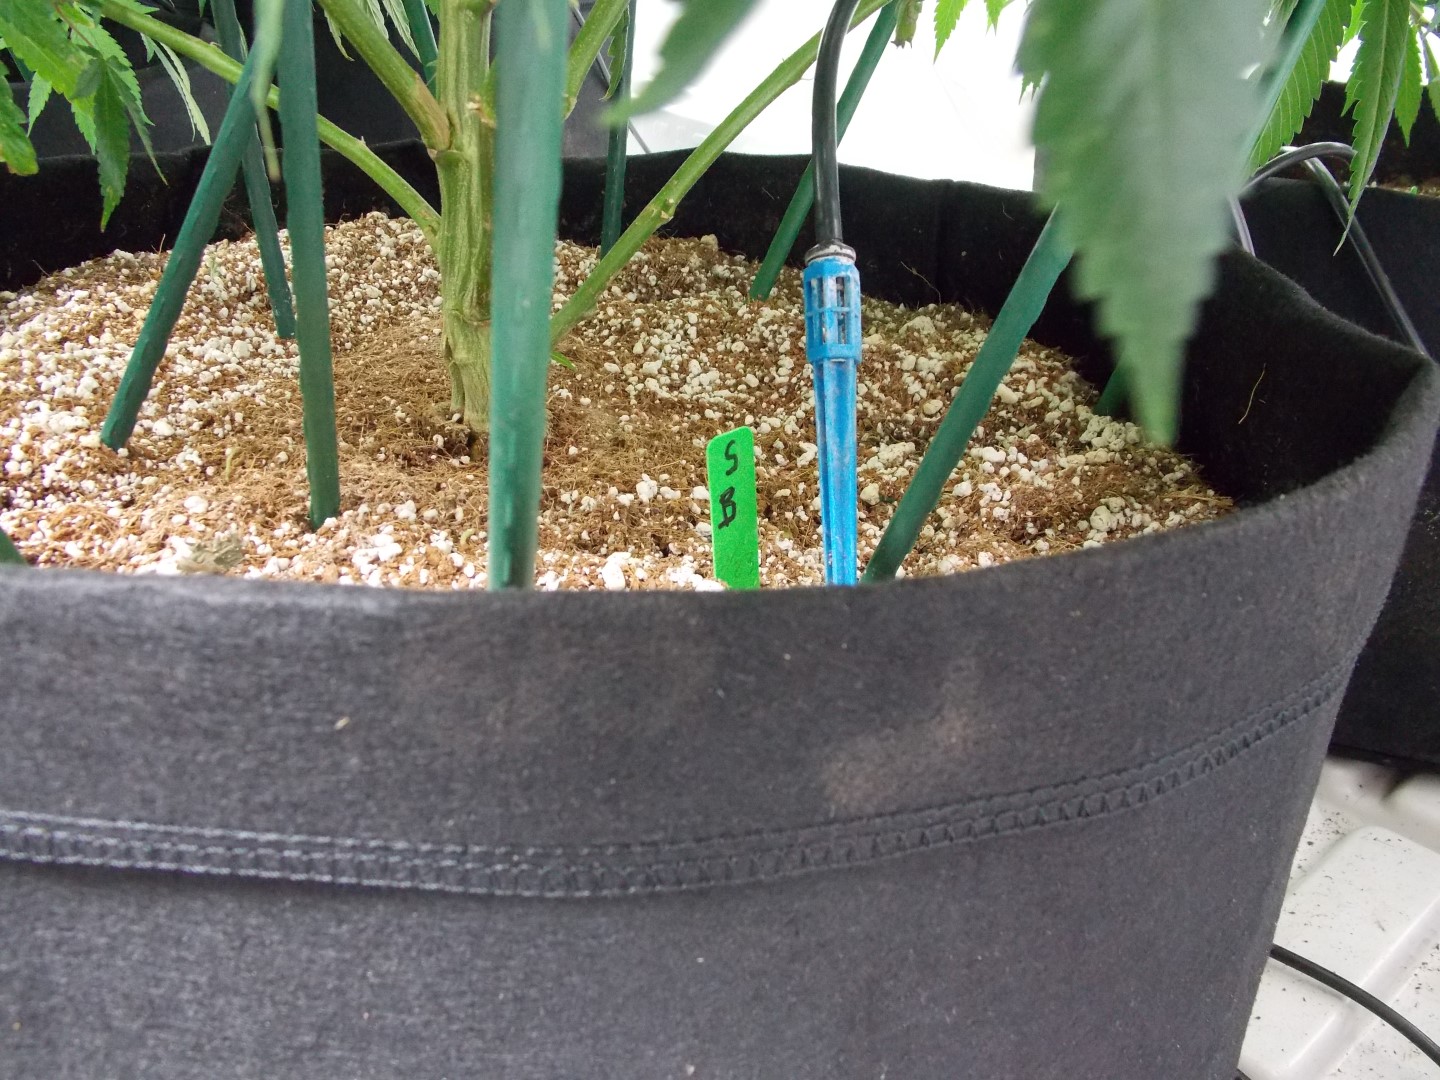
Five Gallon Bucket Or A Cloth Pot

You can go with either of these although beginners are advised to j use buckets. Make sure you drill a hole in the bottom of them and place a saucer of some sort underneath them. Plants need to significant drainage so they don’t drown. Cloth pots come equipped with their own drainage source.

Soil

A good organic soil should do just fine.

Fertilizer

Organic products would be a good choice here. You will be fertilized quite often so get a good amount.

Peat Pellets And A Container To Hold Them

These will be used when you germinate your seeds.

Seeds

You can use the seeds out of the last bag you bought but have you noticed how bags don’t have the seeds they did back in the day? That’s possible because growing your own has become so prevalent they don’t want to lose clients.

Seeds can be purchased online as well and they are hidden pretty well. It’s been suggested to have them shipped somewhere other than where you plan on growing. This is up to you.

If possible get feminized seeds because you want all your plants to be female. If you don’t get feminized seeds you have 50/50 chance of getting a male. You can tell the difference between the male, with hanging bulbs, and females, with white wispy hairs. You want to get rid of the male plants as soon as you realize they are male. If they pollinate the females then your harvest will suffer.

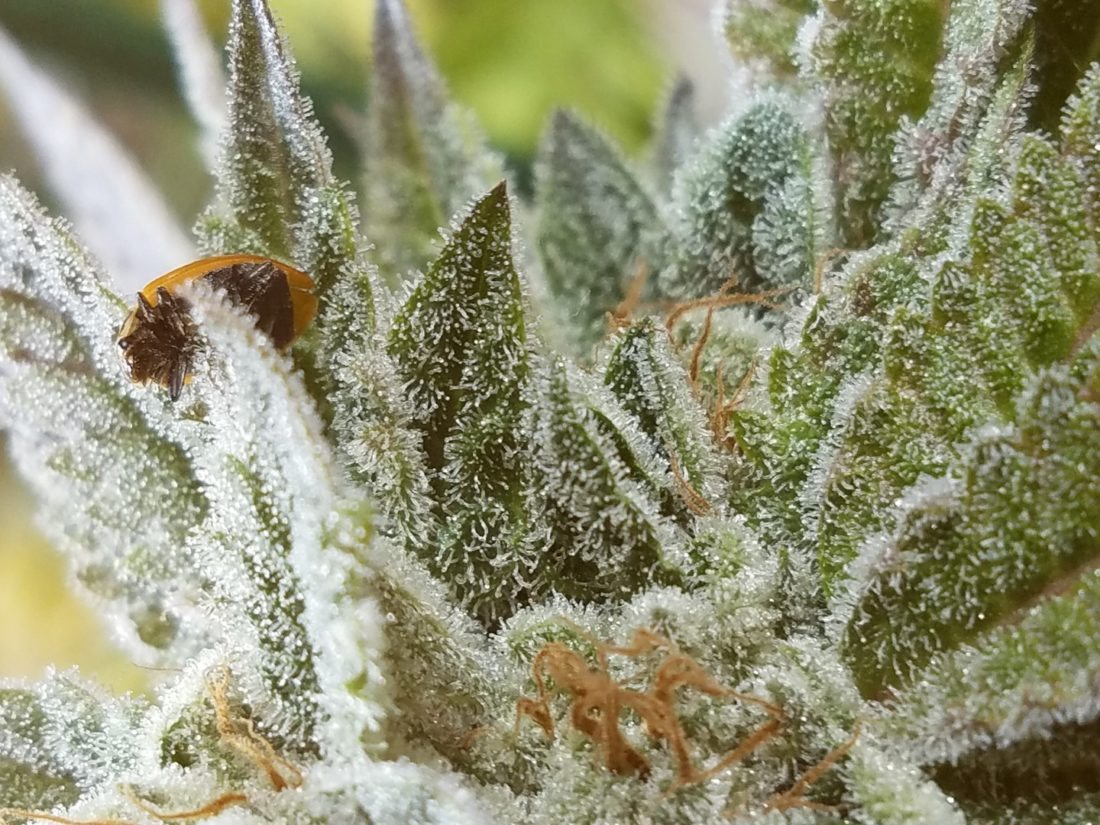
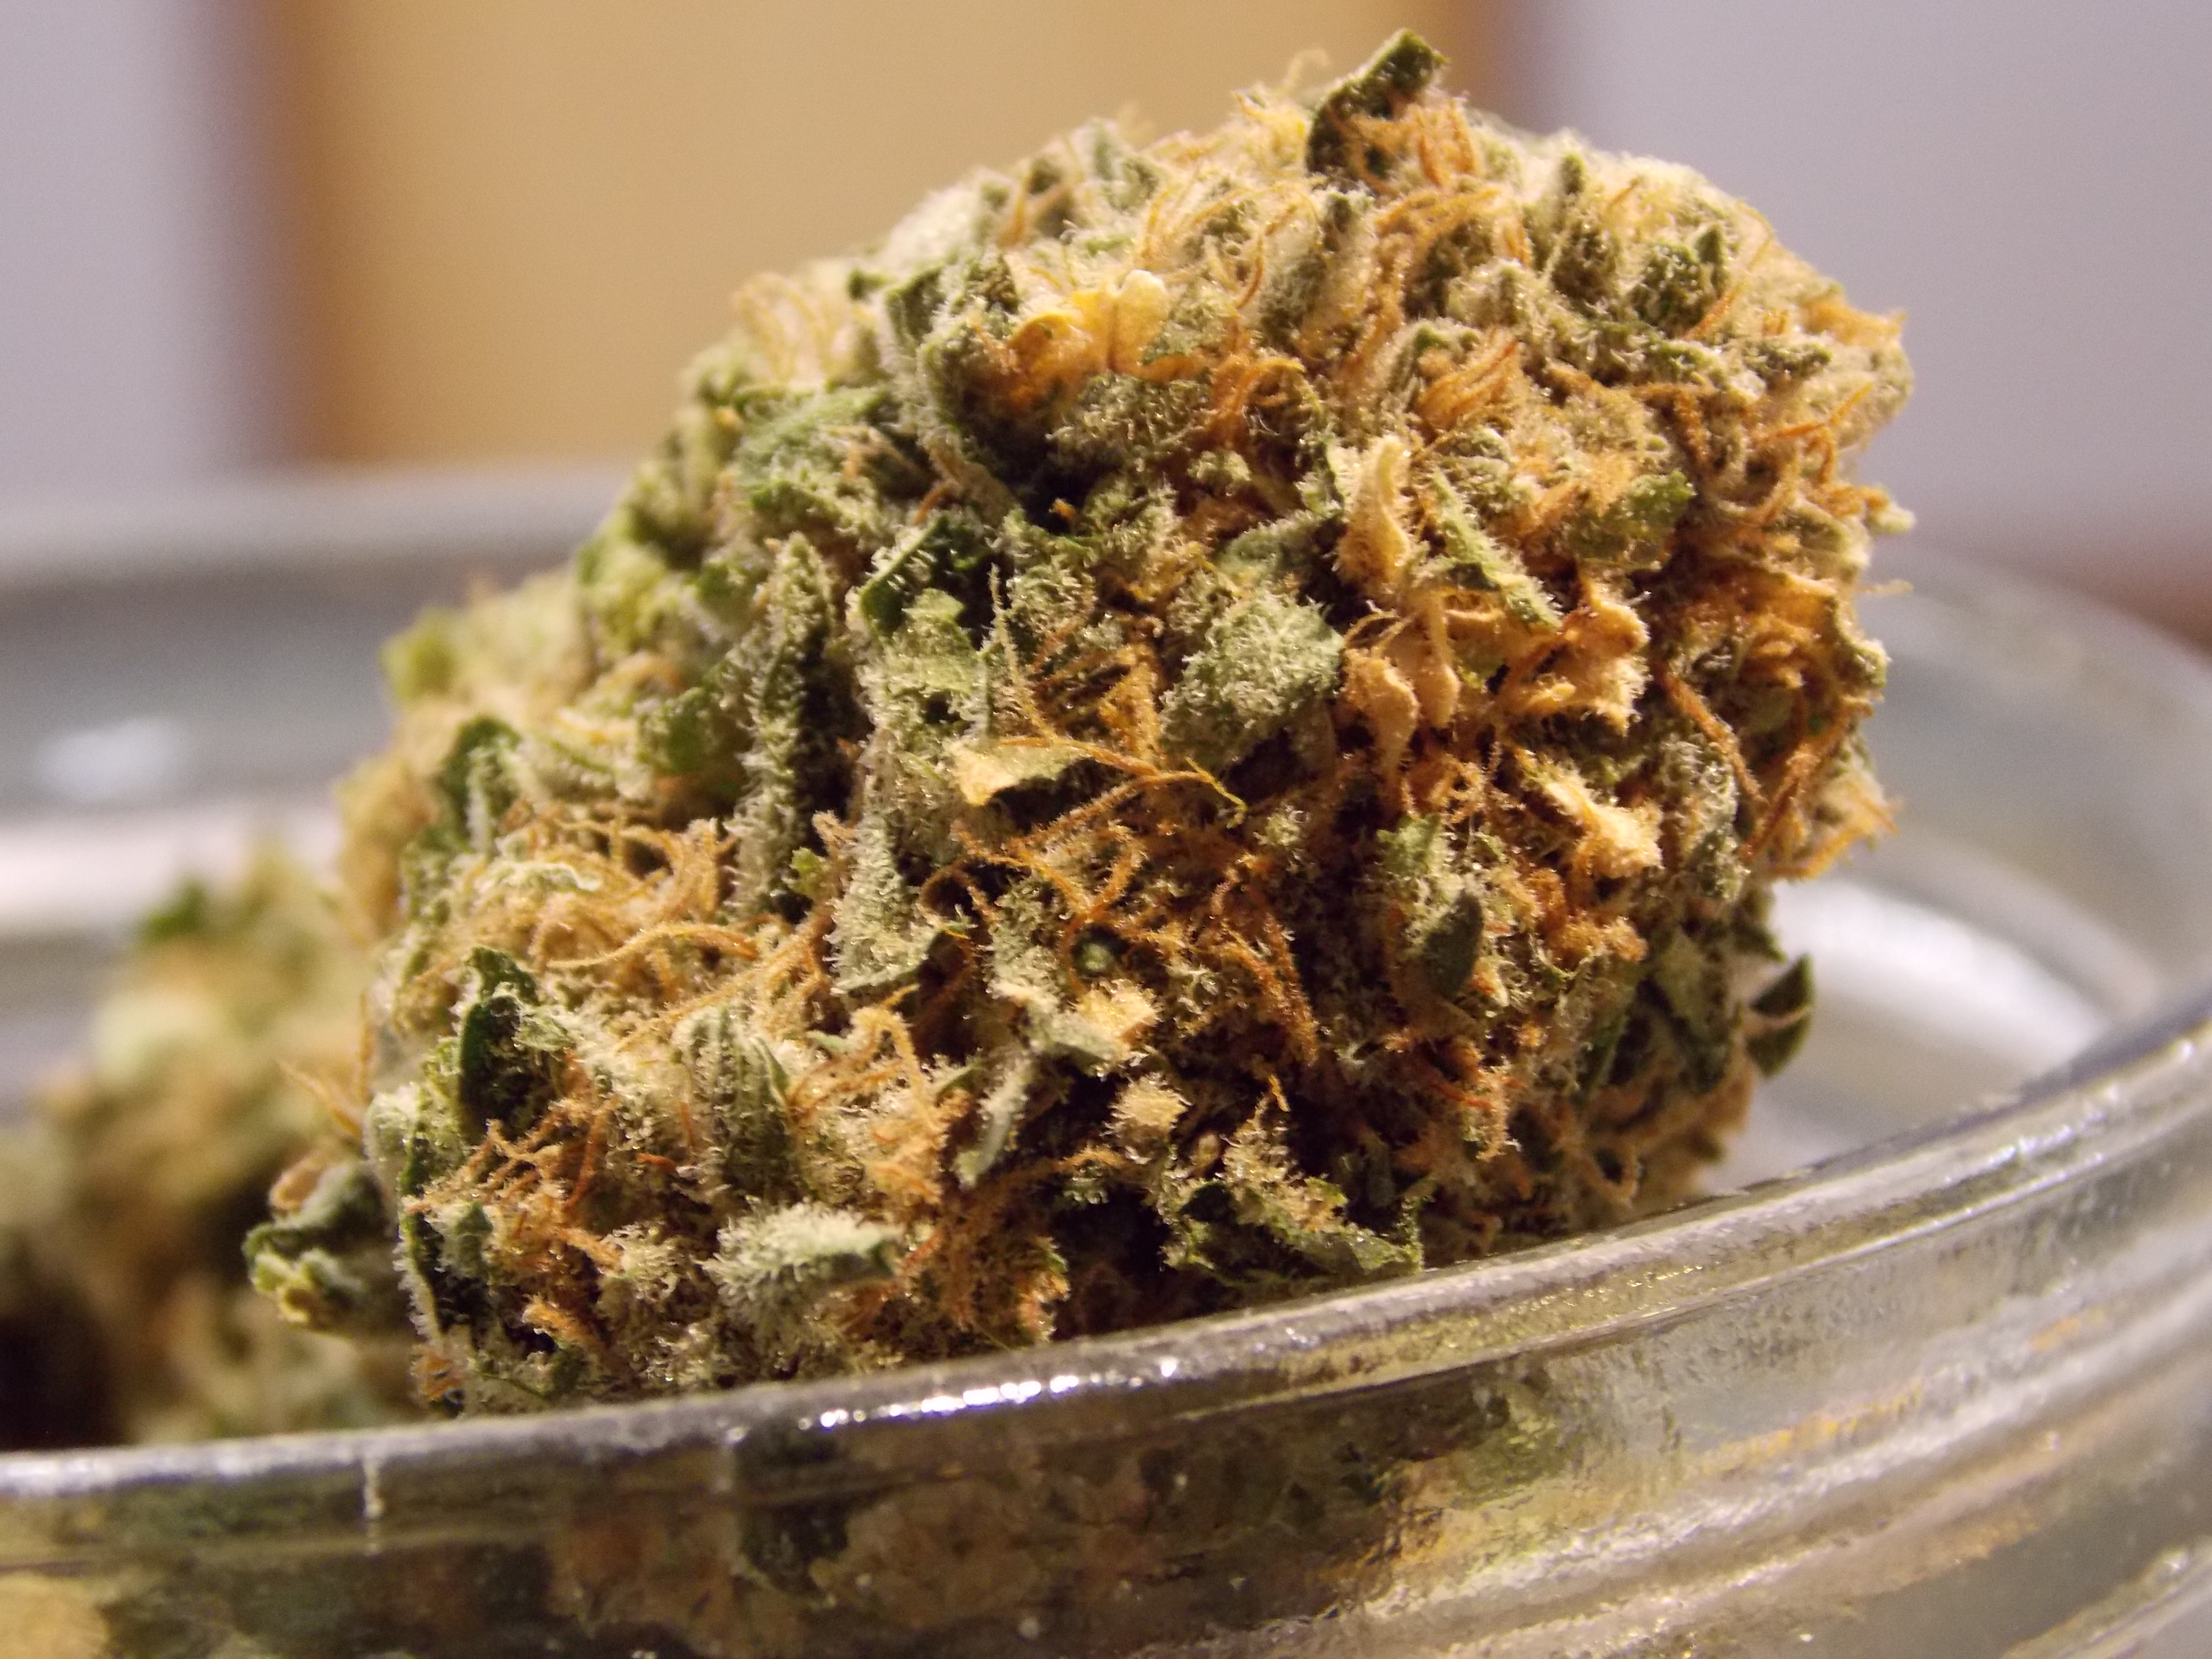
Another note on seeds, healthy ones are marbled and hard like nuts. Dead seeds are black and typically hollow.

Let’s Get Started

I am going to list this one step at a time and take you from seed germination all the way to harvest.

  1. Take your peat pellets and soak them in water until they swell up.

  2. Place one seed onto each peat pellet. It should be a ½ inch deep into the peat pellet.

  3. Put the peat pellets on the container or tray with walls.

  4. Leave them in the tent at room temperature.

  5. Keep the pellets moist by pouring water into the container or walled tray carefully. If you pour the water directly over the pellet you risk losing your seed in the overflow.

  6. They should sprout in 3-7 days.

  7. When they sprout, turn on your grow lights. Set their timers to be on for 18 hours and off for 6 hours.

  8. Make sure your new sprouts are under the light.

  9. Continue to keep the peat pellets moist. The seedlings will grow fast.

  10. Roots will grow out of the pellet’s sides.

  11. Take a 5-gallon bucket with a hole drilled in the bottom, or a cloth pot, and place some soil in the bottom.

  12. Dig a deep hole in the middle and place the entire peat pellet into the dirt. One peat pellet per pot. Bury it deeply submerging ½ of the plants stem into the dirt as well. Roots will grow out of it.

  13. Compress the soil only slightly. Don’t overdo it.

  14. Give it water slowly.

  15. Put your pots under the light.

Light

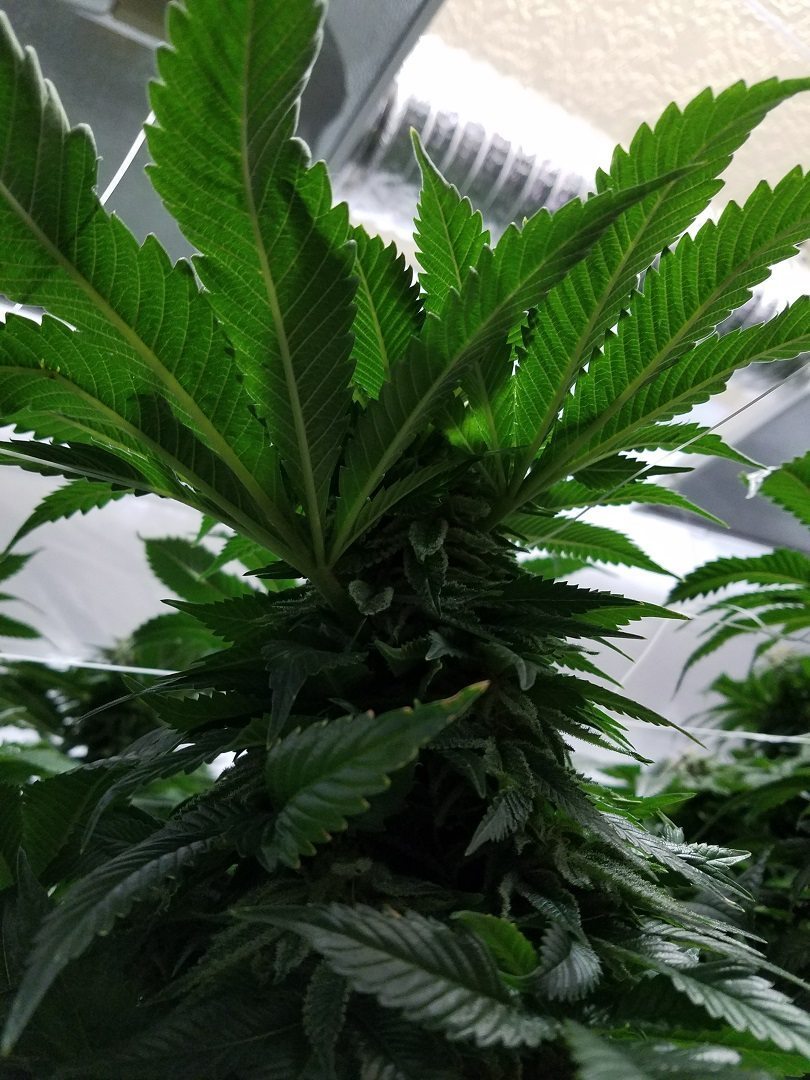
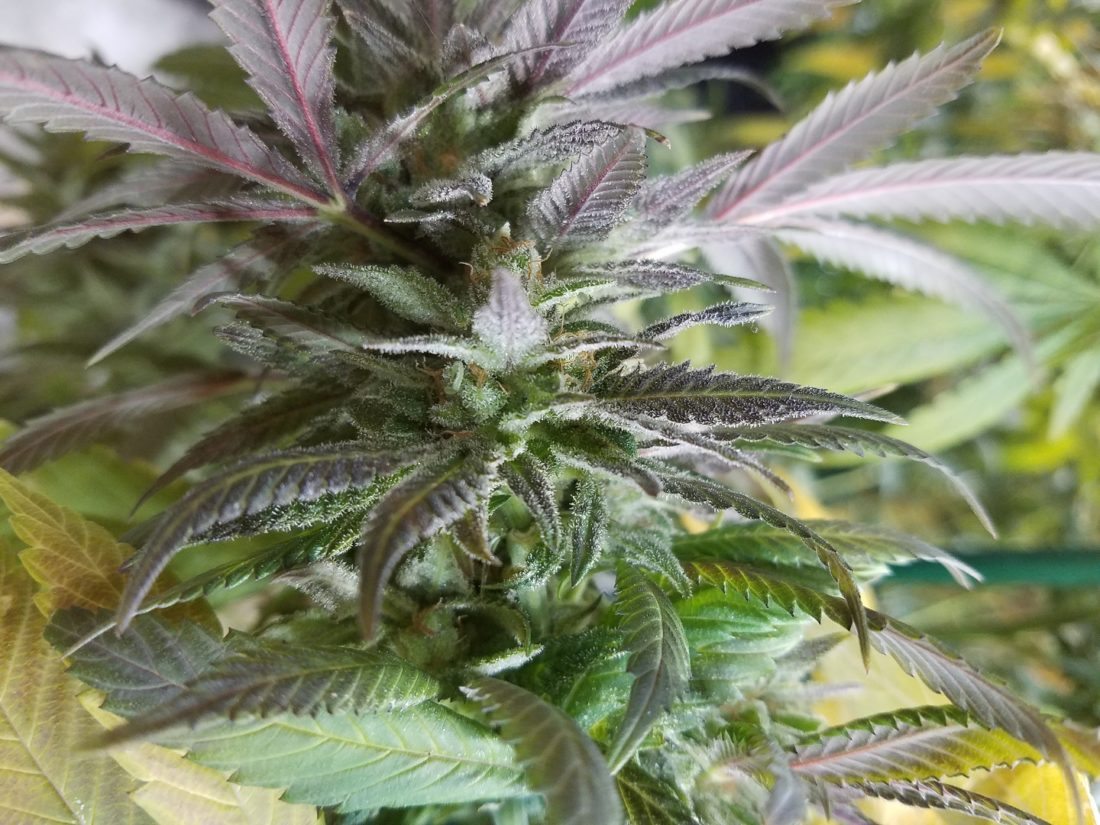
The amount of light your new weed plants get is important if you want it to grow some serious bud. When they are young, continue with the lighting schedule we listed above. When they are ready to flower, you should change the light schedule to and even 12 hours of light/12 hours of dark.

During those dark times is when your plants will start to grow the bud. You want to make sure the dark hours are continuously dark without any light interrupting it otherwise you can jeopardize your growth.

Watering

Be wary not to over water your plants. Vegetation can typically come back from a drought but drowning is the best way to kill any plant. Cannabis grows quickly because it is a weed, so it takes a lot of water. One way to check is to test the soil with the back of a finger. If it’s cold then the dirt is still wet. If its warm, then it’s dry.

There is no set watering schedule but new plants typically need water once a week while older plants might need some water every day. Try to use filtered water to save your plants from the fluoride and chlorine in tap water.

Food

If you keep your weed plants well fed, they will keep you healthy with their harvest. Some professionals suggest the 3/1 ratio. When you water your plants, three times there should be fertilizer in the water, the fourth time, give it just fresh water. So, if you water every day, it should be as follows: fertilized water 3 days, pure water one, repeat.
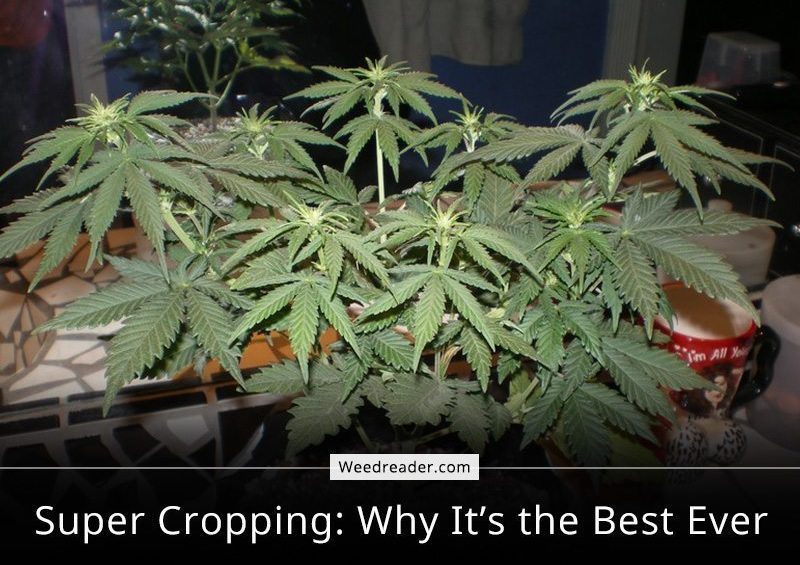
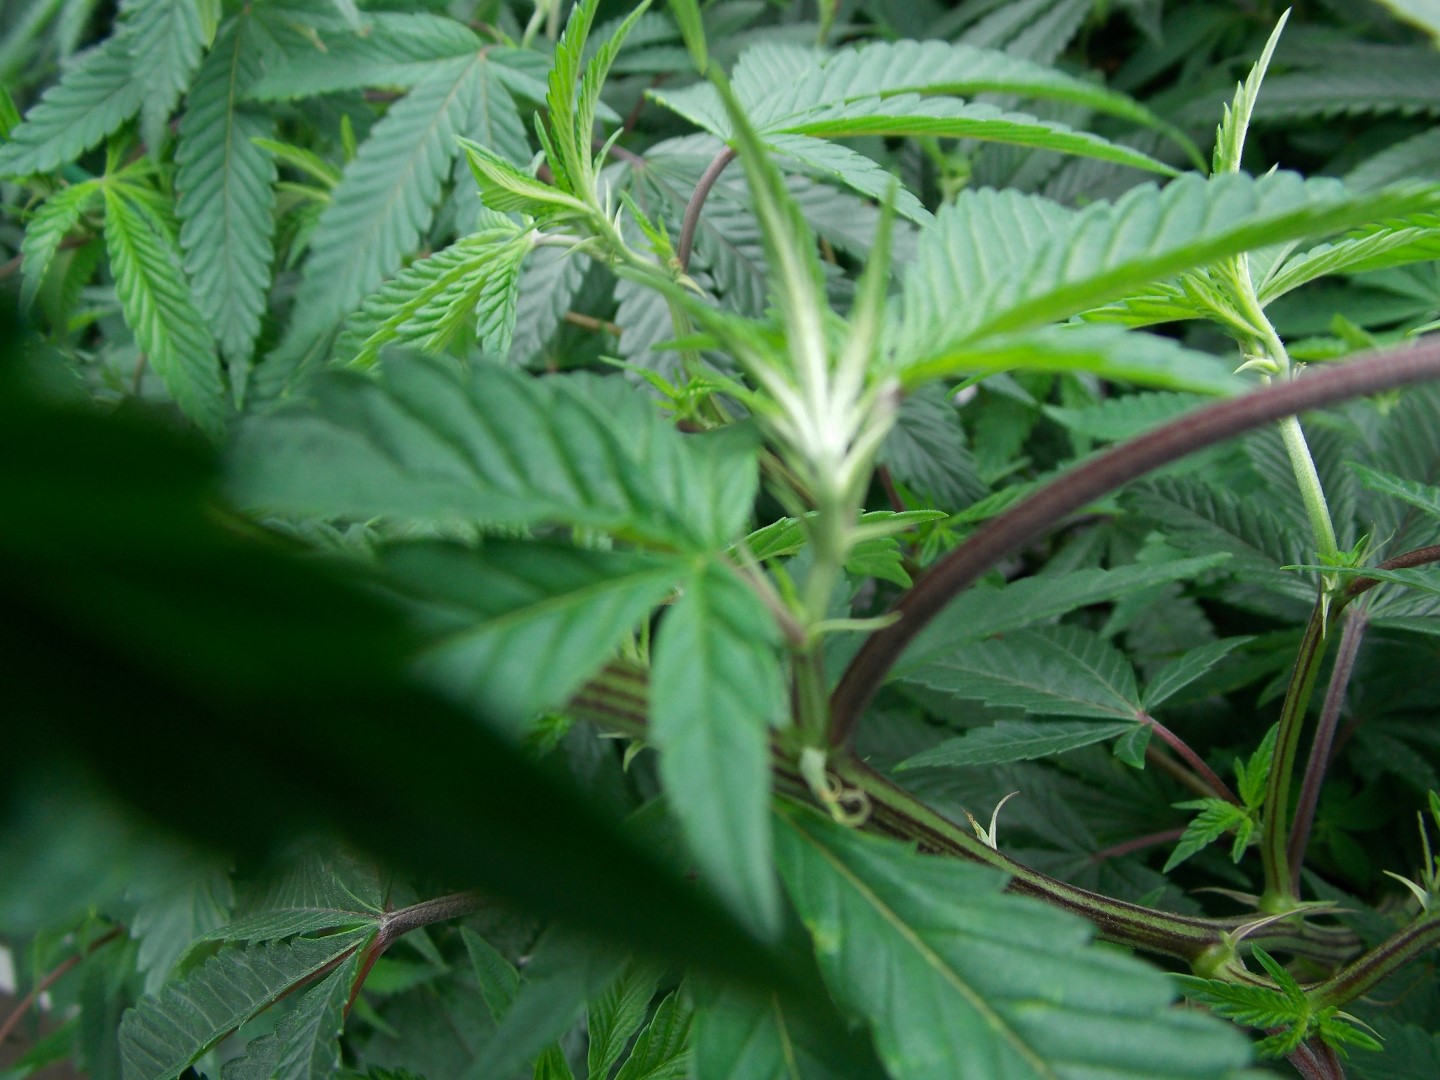
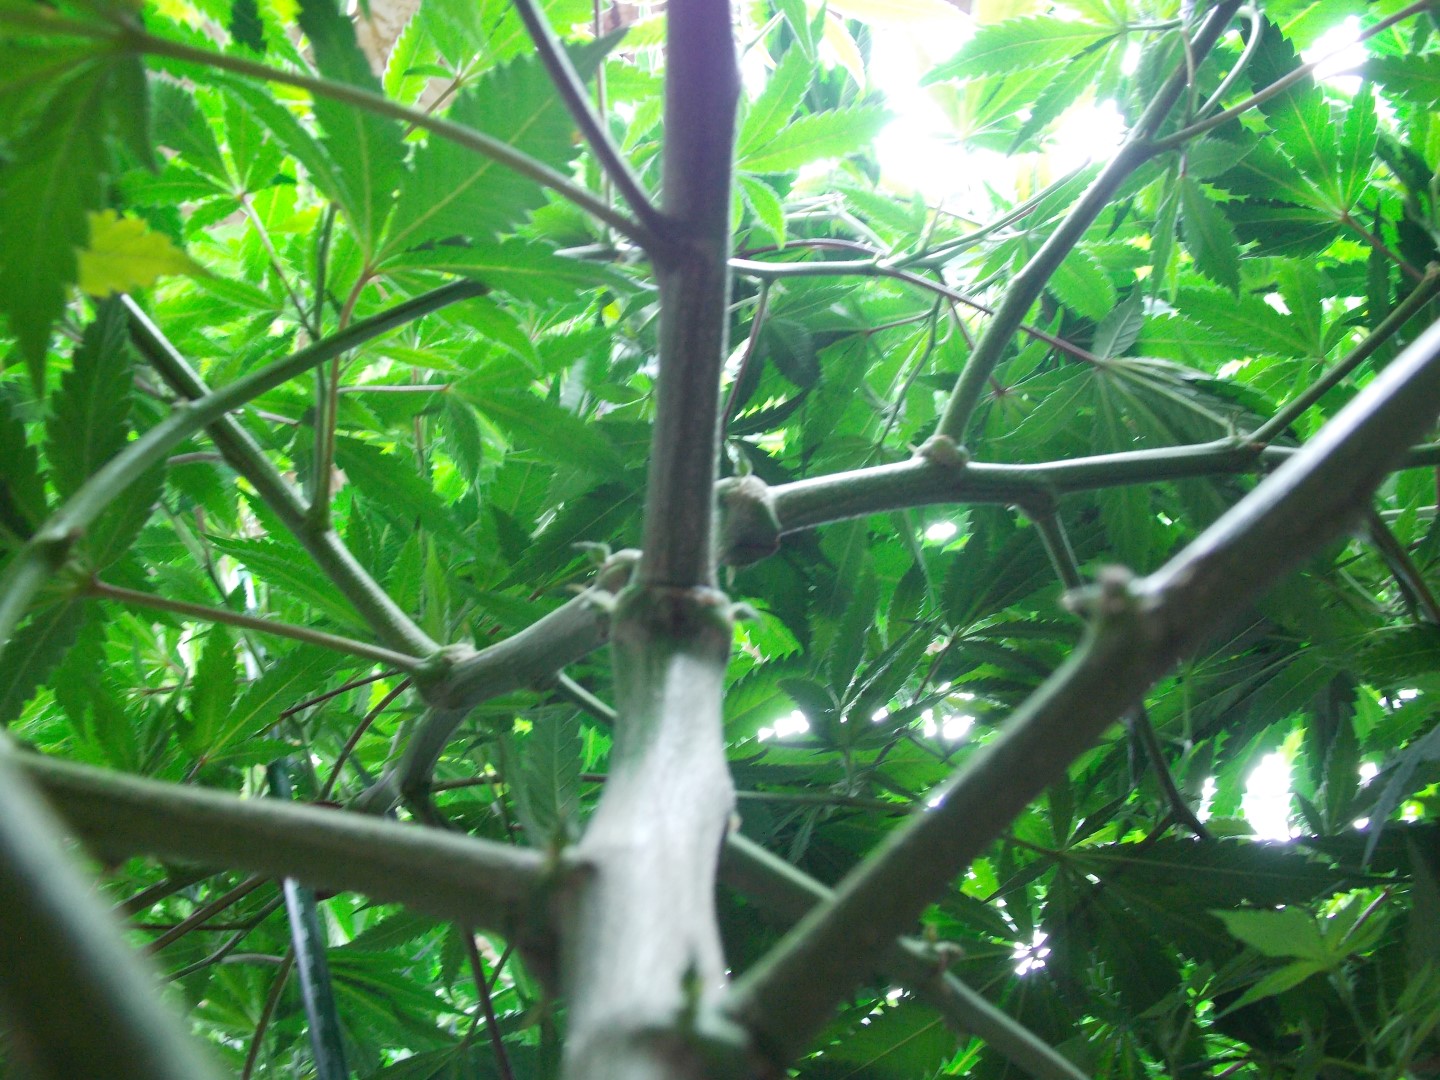
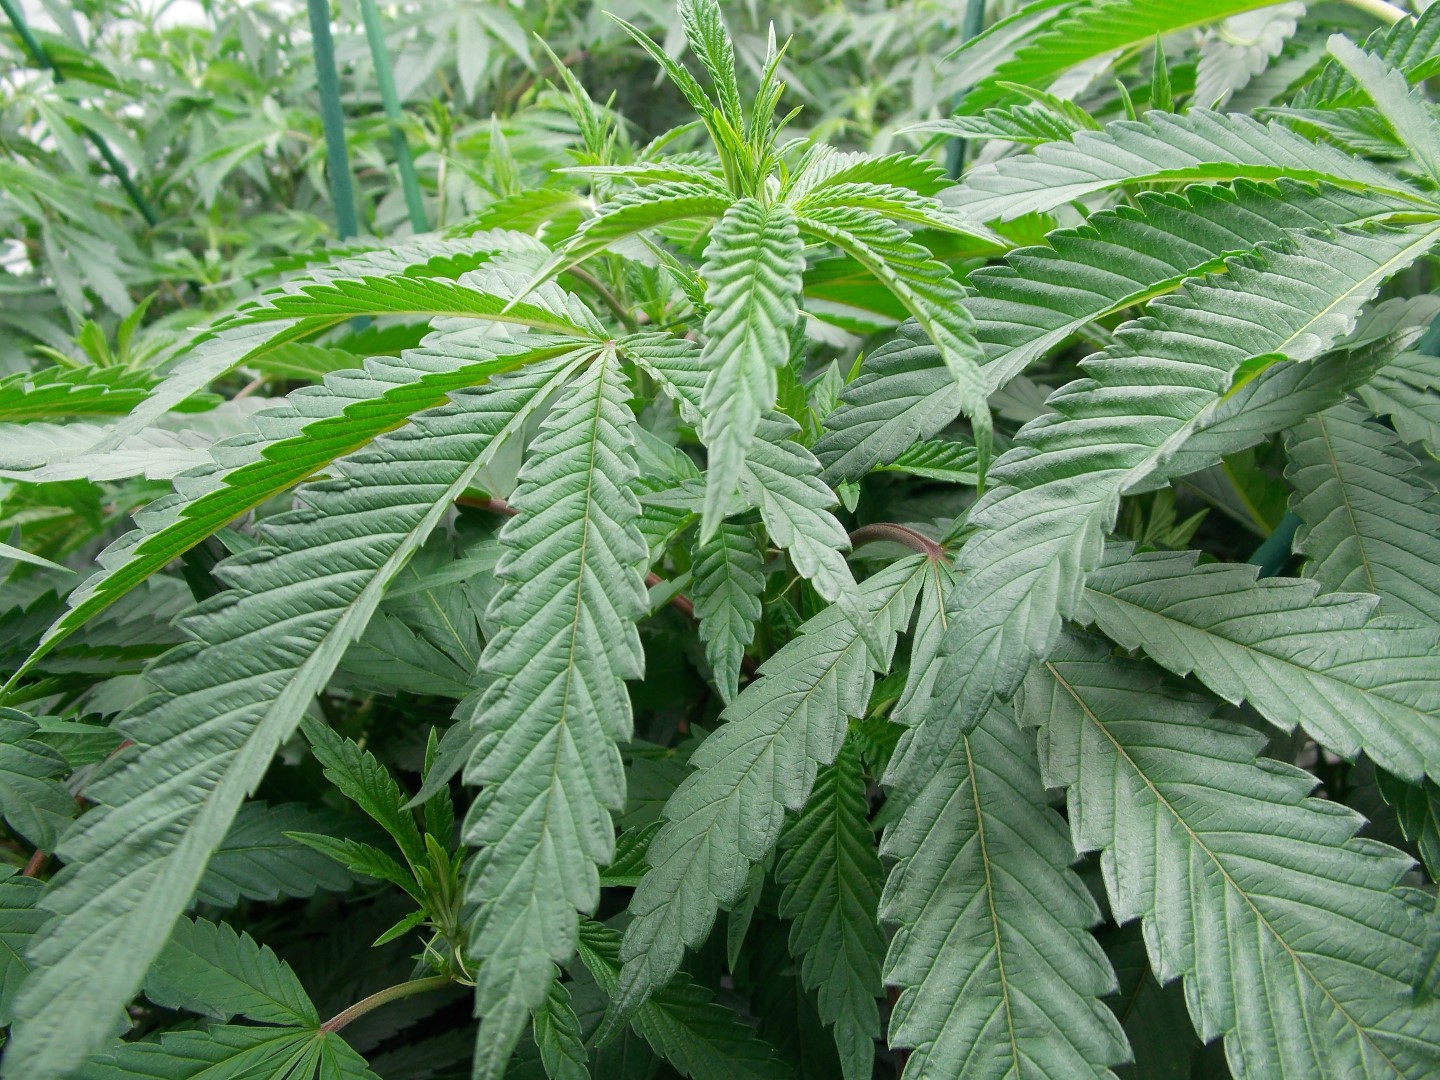
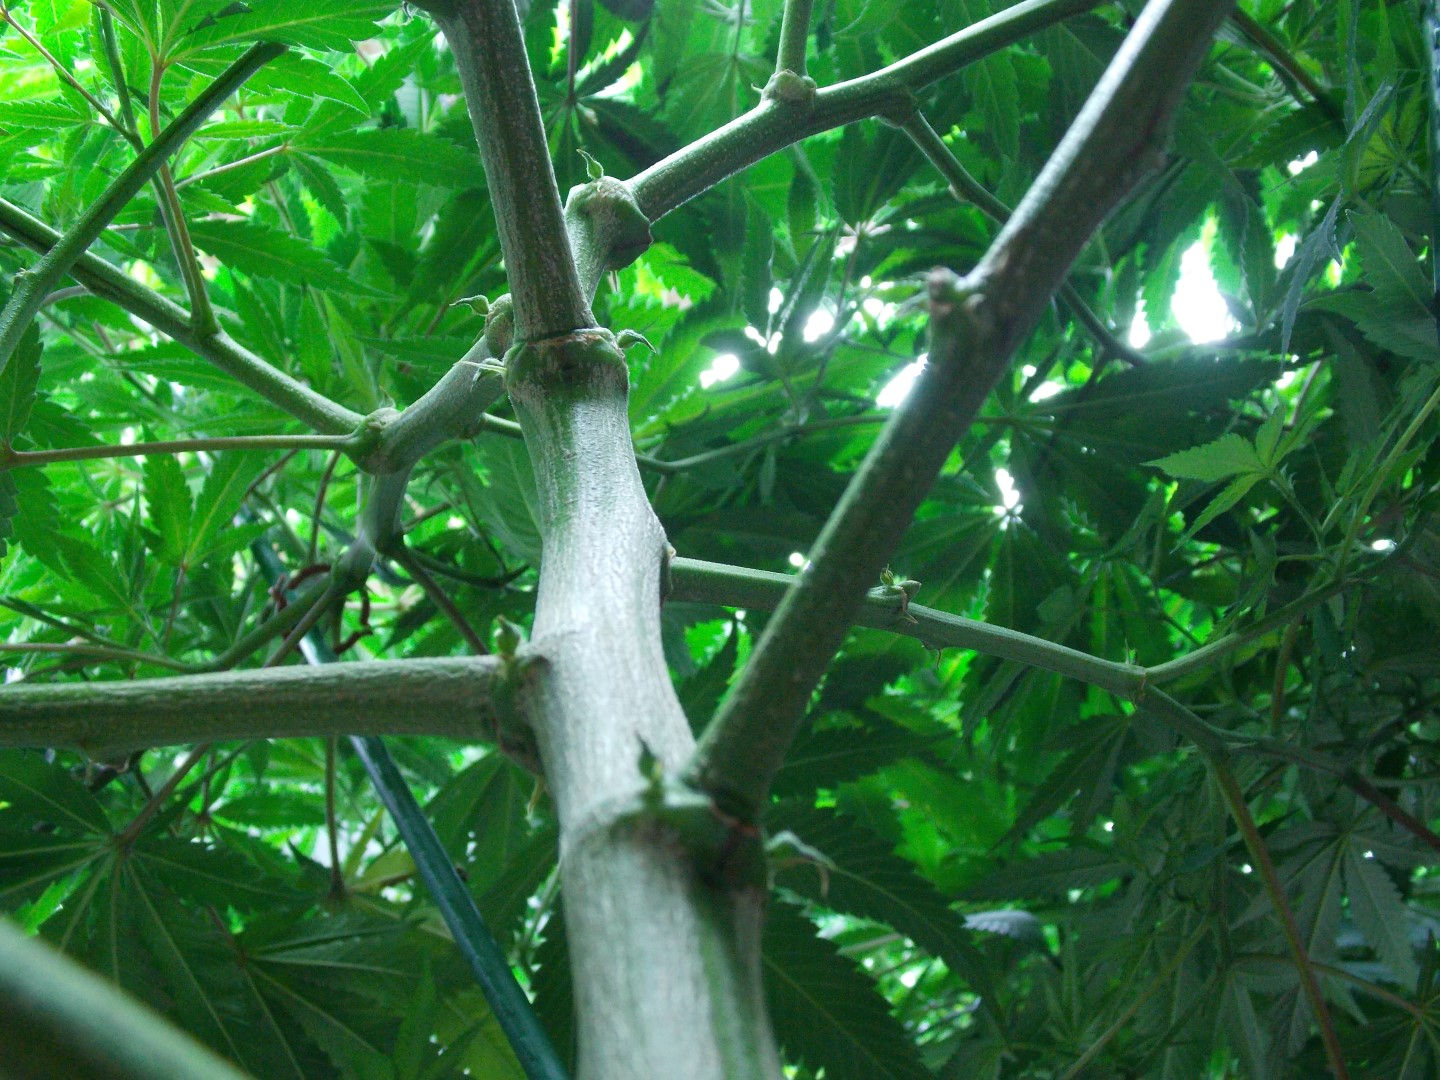
Pruning

To get your plants to grow like a bush pruning is imperative. Just pinch or snip off the branches, just above the node where two new shoots are emerging. You can try to use those snippings as clones for new plants.

Conclusion

If you follow the steps above you should be able to cultivate your own little weed garden inside your home. You’ll save money and have the purest pot you can find. The upsides of this are unbelievable. Just remember discretion is key to avoiding any unwanted attention.

coco coir

Coco Coir Growing Technique Basics

Coco Coir is one of the most versatile mediums you can grow in.

Coco coir is derived from the coconut hull. It is made from the fibrous material between the outer husk and the inner meat. Originally, coir was used for cordage and ropes in ancient India but has also been used for mats and other flooring. In the 1980s, coir became popular in Holland to grow roses and lilies.
Coir is a lot like peat moss, but sustainable and eco-friendly. It can take centuries to re-grow peat moss once harvested but more coco coir is only a few ground up coconut husks away. Because coir promoted root growth, growers started using it for hydroponic gardening in place of peat moss. Eventually the economics of coco coir has helped it become one of the most popular grow mediums today.
Coco coir acts like a sponge and retains just the right amount of moisture for plants to grow in addition to being reusable. Where peat moss bogs can take decades to recover, coco is truly renewable as it converts annual waste into a usable product. Coco is also robust enough to last multiple harvests with the right care.

Coco coir reduces waste at its source and for the grower. coco coir

After harvest, giving coco a quick flush will get it ready to go back in the pot and nourish a new plant. It is recommended to use in no more than 3 grows before replacing entirely though. Having to replace the grow medium every cycle eats up profit so commercial operations find coco coir especially enticing.
It is also easily renewable, unlike peat moss. An average coconut tree produces 150 coconuts a year, so there is a continual supply of a product that would otherwise be considered waste. Some experts estimate that peat bogs take as long as 25 years to renew, while coco coir is an annual product.
While some growers use coco in soil based growing, it is more ideal for use in hydroponic operations. In soil it acts as a water retainer and aerator but as a soil replacement it has really comes into its own. The biggest reason it works so much better for hydro systems comes down to the fact that it has a neutral pH.

The neutral pH of coir is a huge benefit. pest control

Peat moss is considered acidic (it has a pH of 3.3 to 4) and requires additives to balance for growing cannabis. Coco coir on the other hand, is normally between a pH of 5.2 and 6.8. This means coco coir is ready to use without additives that can mess with the chemistry of nutrients.
Coco coir can also store nutrients for later use by the plant. This makes it ideal for drain to waste as well as drip systems because of how long the period between feedings/watering is. It is able to accomplish this nutrient storage because of an especially high cation exchange rate.

Nutritionally, coco is also an excellent choice. Indoor growing

Depending on the source, coco coir it is rich in potassium, iron, manganese, copper and zinc. If growing hydroponically, this needs to be taken into consideration to provide the correct balance of nutrients. Coco coir can also store nutrients and release them as needed due to a high cation exchange rate. Interestingly, it tends to hold on to calcium and magnesium more than other nutrients.
Coir also promotes the growth of beneficial bacteria because of compounds called lignins. Not only will beneficial bacteria thrive in the presence of lignins, they help to minimize harmful bacteria. This means a cultivator can expect better growth, higher yields and less diseases.

It can hold water like no other.CBD Flower 1

Coco coir holds water exceptionally well while still promoting good drainage and aeration. The material also prevents nutrients from leaching. The feeding schedule for a typical hydro drip system is three  15 minute cycles within an 18 hr period. Watering more than this won’t hurt the plant (unless you are also adding nutrients) but isn’t needed.
Because coco coir drains so well, it’s almost impossible to over water plants under normal conditions. Even saturated, coco coir retains a moisture to aeration ratio near 70:30. This prevents roots form ever sitting in anaerobic water ( a death sentence for roots). As long as the coco never dries out completely, coco coir provides reliable results.

It doesn’t retain nutrients forever.CBD Flower

Coco coir is mostly inert and won’t hold onto nutrients for very long. If there is a nutrient deficiency, correcting it is as easy as supplementing during the next watering cycle. The coco coir makes nutrients immediately available to a plant’s roots so recovery from deficiencies as fast as possible.
If the plant gets overfeed, a quick and thorough flush removes practically every trace of nutrients. This makes it so plants can recover from nutrient lockout even faster without risking damage to the roots.
Adding perlite to help wick up the coco also helps against root rot. Make sure to wash brick supplied coco as it is notorious for having a high salt content. Any high end pre-bagged coco will be virtually saltless and closer to neutral pH. Adding salt and algae removers to the nutrient mix is considered safe and prevents drip blockage down the road.

The best reason to switch to coco coir is getting much bigger yields.living cannabis garden

Plants grow bigger in coco coir systems than in soil given the same care. The overall boost to growth may not be quite as massive as methods like deep water culture, but they’re pretty close. In addition, coco coir is much easier to deal with.
Coco coir is eco-friendly, versatile, easy and more productive than soil. With those benefits, there is little reason to use anything else. Coco is available in pellets, bricks, sheets and ready-to-use bags. It can be found almost anywhere you can purchase potting soil, and in a pinch, can even be found it in the reptile section of local pet stores.
Coco coir presents a great compromise between full hydro and soil systems. Plants grow faster, get bigger and yield up to 25% more than in soil. It is also more forgiving than straight hydro setups which makes coir a great stepping stone. Coco coir offers a less demanding option to cultivators looking to grow the best cannabis out there.

I’d love to hear your thoughts.

Did I miss something important? Have you grown with coco coir before? What do you think new cultivators need to know about growing with it? Let us know your thoughts in the comments down below. Thanks for reading.

grow sme

Growing Smelly Weed and Getting Sued

Growing smelly weed is offensive to vineyard company in McMinnville.

Richard Wagner is growing smelly weed. He is getting sued by the the vineyard developers Harihara and Parvathy Mahesh. He is also being sued by vineyard owners the Momtazy Family LLC. The Mahesh family and Momtazy family claim that weed from Richard’s property is damaging their grape crops and the odor from the farm is offensive. The families are seeking an injunction relief, hoping that Richard will be forced to stop production.

Plaintiffs are claiming that the smell of Richard’s herb is trespassing.

According to Momtazi, one of their customers canceled an order because they were worried that the weed smell would fuse with the wine smell via air, therefore ruining their product. In the past, several lawsuits arose from offensive cannabis smells, but no one has claimed damage to their property because of it. Each side would have to hire scientists and industry experts to help the jury decided if indeed the scent of marijuana would fuse with the neighboring vineyard and thereby damage their product.

Richard is not worried about losing the battle.

The plaintiffs are trying hard to stop Richard from growing. They took extra steps right after filing the lawsuit. They filed a temporary restraining order, but it didn’t go far. Richard hired an amazing lawyer, and squashed that restraining order.
The plaintiff’s attempted to use Richards Instagram posts as evidence against his “bad” nature because he posted comments like “fat dab” and “a most enjoyable odor of sour skunky grapefruit”. Richard’s lawyer’s counterargument was that Instagram posts reflect Richards admiration for marijuana and nothing to do with the plaintiff’s argument. The plaintiffs also attempted to use the fact that Richard had no OLCC card to grow. Richard’s lawyer proved that growing weed is legal in Oregon and currently Richard’s OLCC permit is being reviewed for approval. The court approved of the defendant’s side and denied the plaintiff’s request for the temporary restraining order.
Richard won the first round. After a year of attorney and legal fees that will continue to pile up every month, who will cave first? Some say Richard Wagner will win the war but we will have to say tuned to find out for sure.
 

SuperCropping

Super Cropping: Why It's the Best Ever

What is Super Cropping exactly?

Super cropping (also supercropping) is the name for a High-Stress Training (HST) technique where the plant is stressed by slightly hurting it in a strategic way. Super cropping is basically just a coined word for growing a bush-like plant by crushing its stems instead of cutting them off. This technique can be performed on virtually every cannabis plant (excluding autos) and can actually be done multiple times during the vegetative process.
Super cropping is most effective with 600 watt lights or bigger because they allow good light penetration. If growing a bush style plant from clones, it’s important to top the plant right after the clone roots. Doing so will provide a strong base where the extra branches start low on the trunk.
Cannabis plants become stronger after recovering from trauma. Things like bent or crushed stems can become even larger and stronger than undamaged stems. If the main cola (flower) of a cannabis plant is removed, the plant will put energy into growing the remaining colas. Each super crop basically  doubles the number of potential colas on a plant.

What Does Super Cropping Do?

After super cropping the plant will grow bushier, produce more buds, and possibly even produce more THC! This is how the plant naturally responses to danger and protects itself. Growers take advantage of this technique to get bigger yields and more potent buds than would be produced otherwise.
If the goal is to harvest the biggest and the best buds, you should actively stress the plant in a way that will result in an increase in the production of cannabinoids. If the aim is to get a better harvest, “super cropping” is by far the best method of stressing your marijuana before harvesting.
Of the 483 known compounds in Cannabis, Tetrahydrocannabinol (THC) is the primary psychoactive component of cannabis and produced in the plants trichomes. The second major component is CBD. It is also considered to have a wider scope of medical applications than THC because of study results in treating epilepsy, anxiety disorders, nausea etc. Both are produced in greater amounts by plants that have been properly super cropped.
Super Cropping Bud

How do we ‘stress’ the marijuana plant?

Super cropping works along with Low Stress Training, or LST. LST is the simple process of training your cannabis plant to grow laterally. This is usually done by tying down the branches of the plant to stop it from growing vertically. Light is one of the most important factors contributing to the growth of a plant so when it comes to cannabis, light dictates when a plant produces its flowers and how well those individual buds develop.
The main idea of super-cropping is to get marijuana to expose as many branches as possible to direct light and induce the plant to produce more leaves, buds and flowers. To apply the method, a certain amount of stress must be applied to your plant.
By exerting gentle pressure firm enough to slightly damage the tissues, a grower can intensely escalate marijuana yields. Because of the special stress response that takes place within the plant, the risk of infection or splitting is also minimized.

The technique is really simple.

Choose the most suitable branches you want to super crop. Start by doing only a few branches at a time, you will make sure that the plant reacts well to the stress technique. Remember that the goal is to stress the plant, not kill it.
After selecting the spot, gently hold the branch between the thumbs and forefingers of your hand and while gently exerting firm pressure, soften the inner tissues and carefully roll the branch between your fingers until stem feels limp in that spot.
A severely damaged branch may be beyond natural repair, especially if the branch is visibly split. Applying grafting tape or Duct tape will help to strengthen the damaged branch during the healing process.

Super Cropping takes advantage of natural processes.

When it’s time for a plant to flower, the size of the buds it produces is largely dependent on light exposure. The more light (in the right wavelengths) a certain part of the plant canopy gets, the stronger and bigger it is likely to be. That’s why the crown of a plant usually has denser, bigger flowers than the bottom.
Super cropping allows you to manipulate a plant and its canopy for maximum exposure. By ensuring the entire canopy gets evenly exposed to light, growers encourage it to build big, dense buds. This is true even in areas normally be covered by foliage.
For its own survival, the plants growth mechanism will cause it to ‘set’ the break and keep the limb in place after it is done healing. Arranging super cropped tops horizontally creates an environment for increased bud production as colas that would have been under the main cola are exposed to direct light.

Super crop at the right time.

Be really careful because this method is designed to induce the plant to throw out a greater number of colas and new leaves. Being too aggressive can have seriously negative results.  Following the logic of nature, this method works because the plant is deceived into believing that it is under attack by some force and therefore it will compensate.
In the process of healing, the branch will grow a protective nodule to strengthen the damaged area. This ensures that transpiration of essential nutrients and water are not restricted. Growing the nodule is a key step of maintaining the overall health of the plant.
Since this technique requires time for the plant to heal, the best time to super crop is in the plants’ vegetative or growing stage. During the second or third week of growth will likely be most effective time. How will you know? When the plant produces vigorous new branches but has not yet fully started the flowering stage, it’s time.
By super cropping, cultivators enjoy shorter and more controlled plants that produces a great number of branches and buds. Even though the plant needs more time to recover, proper super cropping does not retard the growth of the plant like pruning of the tops or picking leaves to induce growth.

medica marijana

Sold: Starting a Medical Grow Business

Before starting a medical grow business, you need to do a ton of research.

Federal, state and local laws create a vast web of interconnecting rules that are unique to each medical grow (even if they are in the same city and industry). Navigating this miasma is both arduous and tedious by design but is also vital to remaining in business. The best place to start is with your states official rules.
You can’t simply put some seeds in backyard dirt or throw thousands of dollars around and expect to get anything competitive out of it. And this is a competition. The time, effort and skill needed to get a plant from seed to sale is a skill that can be developed over several years. A skilled hand can take a good strain and make it great while an unskilled grower can kill everything.

But it takes more than growing the dankest buds to survive.

Growing great herb is a prerequisite to a business based around growing weed. But equally important is the ability to manage costs and duplicate results. It doesn’t matter how much you can sell your product for. If it costs more to produce than what you get, it isn’t a viable business.
“Even if you get your costs under control, you still have to worry about duplication. If you can’t produce the same product every time, you have a problem.” Mike Boynton, the master grower for Oregon Imperial farms told me in an interview. “Changing anything in the environment from fan placement to light duration will change how your plants grow and therefore your bottom line.” The more people and the bigger the farm, the harder it is to control costs. If you can’t get it under control with 5 plants, you will never be able to with 5000.

The Marijuana industry is an especially challenging one.

Getting a business off the ground in the weed industry is a lot harder than most other industries. Cannabis is one of the oldest crops known to man and you can bet there are a lot of talented people out there trying to do it better and cheaper than you. Besides having to deal with the standard problems of location and competition, cannabis businesses are heavily regulated and lack traditional support infrastructure like banking services.
Marijuana businesses lack the ability to use banking services because it remains federally illegal. This is not to say that banks refuse drug money. SBC was fined $1.9 billion by the U. S. government for laundering cartel drug money in 2012. Yet the cannabis industry is forced to work on a cash basis regardless of how big the costs.

There are a variety of rules regarding how to grow legally.

With over half of the nation having legal weed in one form or another on a state level, there have been many ideas about what should be allowed. Each state has taken different measures to ensure a safe and effective cannabis industry. Some states require seed to sale tracking and vertical integration while others prohibit delivery or drive-thu services.
In addition to rules and regulations about where and how to provide services, there are also rules around what kind of equipment is needed in order to get a license. This further compounds the complexity with many states have a different set of rules for medical grows and recreational operations. As an example, Washington merged their medical grow and recreational grow rules for a single comprehensive program while Oregon kept them separate.

After all, growing weed isn’t cheap.

Even in places with ideal growing conditions like Northern Cali, Florida or Hawaii, plants still need water, nutrients and protection from pests/diseases. In areas where the weather is too dry or cold, growing indoors becomes a necessity. The cost of equipment pales in comparison to the cost of keeping the growing environment perfect.
In addition to lights; pumps, timers, fans, filters and air conditioners all use electricity. Keeping the juice flowing can be a challenge in itself. Grows with more than one room may even need to have a more powerful line run by the electric company to keep from blowing transformers. All of these little additions add up quickly and can quickly eat up all the potential profit.

A lawyer, an accountant and a lobbyist walk into a grow room.

If you plan to operate a successful company growing a federally illegal substance, you need to have some specific talent on your team. This team needs at least a lawyer, an accountant and a lobbyist to run interference while the head grower does their work. Without someone covering each area, the chance of getting blindsided is astronomical.

Lawyer

Find someone who specializes in canna-based business compliance and criminal cannabis defense. Ask others in your area who they recommend. Don’t forget to check online databases like www.martindale.com, www.avvo.com, www.justice.org to name a few.

Accountant

Look for someone with experience in the industry. Overly “creative” accounting can get you in hot water so make sure you can trust them. In addition to searching online for local tax professionals, ask colleagues for referrals. Asking others in your area who they use and why is also a great way to narrow the search for the right accountant.

Lobbyist

Look for someone with the time and energy to represent your cause. Their job is to keep an eye on local and statewide changes that pertain to your business. They are also there to help prevent others in the community from effectively banning your business or engaging in sneaky tactics to close you down. There are no lists/registries for this, gotta tap into that network to find the right person..

Head Gardener

Look for someone with botany experience. Many master gardeners hang out in local hydro stores or are at least known by them. Don’t be afraid to ask questions and be picky. This is the person who will dictate the initial and final quality of the product and choosing the wrong person can have dire consequences.

Skipping the support staff can have dire consequences.medical grow

Many states ban the operation of any marijuana based business (including a medical grow) within a certain radius of schools. But most states don’t ban schools from opening near a marijuana businesses. There is normally nothing explicitly stopping a preschool from opening next to a dispensary or grow location and putting you out of business.
A good team is the difference between closing up shop or staying open for years. It does you no good to spend millions of dollars on a medical grow business just to have a preschool open next door a week later and shut you down. Better to have the staff on hand to stay open and deal with the issue before it gets finalized than not.

You need to find just the right spot.

Besides schools randomly popping up, there is a lot to consider when starting a grow business. The first thing most growers work out is where they plan to grow. Most medical grows are done on a personal consumption scale. If the plan is to make it profitable, it takes a bit more consideration.
Because cannabis remains federally illegal, landlords are almost as hesitant as banks are to work with weed entrepreneurs. Even in the case of a medical grow, it can be almost impossible to get permission to start. In most cases, growers need to own the land/building they plan to operate in or receive written permission from the land owner before getting licensed.

Security is a major concern as well.

Each state has very specific rules on which types of security are needed for a medical grow to remain in compliance. States may require barriers like walls be erected around grow sites. They also might require closed circuit cameras linked to cloud backups but it depends.
Whole sectors of the economy have been dedicated to the outright eradication of cannabis for decades (I’m looking at you Big Prison, Pharma and Tobacco). As cannabis moves from illicit trade to regulated market, there is bound to be pushback from entrenched interests. Even a medical grow can face opposition from local religious or political groups that don’t like cannabis.

The market is growing.landrace 2

More and more people are getting in on the Green Rush and starting to grow cannabis. Like the Gold Rush that sparked westward expansion, the hype and obvious wealth being generated is causing a migration of talent and willpower. Fortunes are waiting to be made by talented and driven individuals willing to put in the work.
In the end, most of the states where weed has been legalized were ballot measures which means they were supported by voters. With the majority of the population clearly supporting cannabis reform, cannabis is primed to continue growing for years to come. Getting a good team will make every other part of the process easier.

Do you agree?

Or do you think I’m off my rocker? What advice would you give to someone just getting started? What do you wish you knew before starting a medical grow? Let us know in the comments down below. We would love to hear your take. And as always, thanks for reading.

npk

NPK: The Essential Nutrients of Cannabis

How do I use NPK to grow the Best Cannabis?

If you are planning on growing cannabis, there is a lot of information to absorb. One of the most basic and important elements of growing great cannabis is making sure it has the right nutrients. Like any plant, cannabis has a special diet  made up of three main elements. Instead of eating fats, protein and calories like humans, plants need nitrogen, phosphorus and potassium or NPK for short.
The three main nutrients are known as macro-nutrients and basically all plants need them to survive. From giant redwood trees to Venus Fly Traps, Nitrogen, phosphorus and potassium are the building blocks of a healthy plant. Yet not all plants require the same amount of each element so care is needed to provide the right mix of nutrients.

So how do I get the right mix of nutrients?

The easiest way to adjust the nutrient balance of soil is to add fertilizer. Modern cultivators have a wide range of products available to choose from. Most garden supply stores have a dizzying array of fertilizers in a myriad of forms. Liquid, solid, powder, organic, the list of methods for delivering nutrients to plants goes on. Each method or delivery system is keyed to different growing techniques but there is some basic info on every one of the bottles on the shelf.
All fertilizer has three numbers on it referred to as the NPK levels. The three numbers on fertilizer represents the value of the three macro-nutrients used by plants. These macro-nutrients are nitrogen (N), phosphorus (P) and potassium (K) or NPK for short.
Why do they call it NPK?
People have been growing plants for a LONG time. Some of the most important cultivators we have records of are the Greeks. Not because they were inherently special, but they helped propel language into a new era through conquest and trade so people often refer to them as founders of “Western Societies”. Greek also provided the root for the development of Latin. The Greek impact on cannabis cultivation permeates deeper than many understand.
Take the names of the nutrients; Nitrogen, Phosphorus and Potassium. Nitrogen is a French word coined in 1790  by Antoine Chaptal from Greek nitron “sodium carbonate” and French gène “producing,” which is itself a derivative from Greek -gen “giving birth to”.
Phosphorus comes from Greek φῶς and -φόρος (phos and phoros), which means “light bearer”. They called it that because white phosphorus emits a faint glow upon exposure to oxygen. Phosphorus was also the ancient name for Venus, or Hesperus, the (Morning Star) which has a faint glow. Then we get to Potassium which is often referred to as potash.
The English “potash” means “pot ash” as potassium is a compound prepared from an alkali extracted in a pot from the ash of burnt wood or tree leaves. Potash is a literal translation of the German potaschen, which means “pot ashes”. The symbol K is from the Latin name kalium, which means “calcined” or powdered ashes.

So how do I read the NPK values?

All modern fertilizer has the NPK values on the packaging. These values scale with potency. The higher the number, the more concentrated the nutrient is in the fertilizer. For example, fertilizer listed as 20-5-5 has four times more nitrogen in it than phosphorus and potassium. A 20-20-20 fertilizer has double the concentration of all three nutrients than one with 10-10-10.
Plants need nitrogen, phosphorus and potassium to grow. Without enough of any one of these nutrients, a plant will have issues and may even die. But they need each for different reasons. Nitrogen (N) is largely responsible for the growth of leaves and foliage on the plant. Phosphorus (P) is largely responsible for root growth and flower or fruit development. Potassium (K) helps the overall functions of the plant like stem development and water absorption perform correctly.

How do I know how much to use?

For cultivators working with prepared soil like Dakine 420 or Fox Farms, the level of nutrients in the soil is labeled. For cultivators working with native soil, getting a soil test is a great way to measure its health and fertility. These tests are generally inexpensive, but vital when it comes to growing and maintaining healthy plants in the garden.
Soil tests are used to determine the current fertility and health of your soil. Once a cultivator has this information, they can find the right formulation to bolster what is already there. Soil tests also show the pH in addition to macro-nutrient levels.
By measuring both the pH level and pinpointing nutrient deficiencies, a soil test can provide the information necessary for maintaining optimal fertility. Most plants, including grasses, flowers, and vegetables, perform best in slightly acidic soil (6.0 to 6.5). Others, like azaleas, gardenias and blueberries, require a somewhat higher acidity in order to thrive.

Why do most nutrients have a Veg and Bloom portion?

Not all plants require the same nutrients throughout their lives either. Marijuana requires a higher nitrogen ratio during the vegetative and early flowering stages  as it is the main component for plant growth. During flowering the plant prefers a lower nitrogen and higher phosphorous NPK fertilizer ratio because phosphorus is important for flower and resin development. Adjusting the micro-nutrient levels can also change the absorption rates of macro-nutrients.
The NPK fertilizer ratio does not show the micro-nutrients. These are trace elements provided by most soils. They need to be added when using a hydroponic grow system. Having ‘hard water’ or water with calcium above 200 PPM makes adding more calcium counterproductive and can lead to nutrient lock-out. This is why several companies offer micro-nutrients for hard water.

So are all fertilizers with the same NPK interchangeable?

Even given the exact same NPK ratio, not all formulations are the same. The NPK elements of any fertilizer are bound up in molecular compounds with differing degrees of bio-availability. Companies may offer their nutrients as inorganic salts, oxides, or even as colloidal minerals. Depending on the individual system (soil, hydroponic, aeroponic) one method may be preferable over another.
Be sure not to mix nutrient lines from different manufacturers without knowing how their micro-nutrients interact. This is a difficult process for most without a chemistry degree so it is advised to see if other cultivators have experimented with identical mixtures. If their results are  and mimic their process. Remember that order of operations is important and to follow their process exactly.

What should the NPK levels be?

Even more important than the actual numbers on the package is the ratio of each of the primary nutrients to each other. One cultivator can grow using nutrients with a rating of 15-30-15 and another can get identical results using 5-10-5 because the proportion of each nutrient is the same. During vegetative-growth, phosphorus levels should remain at about 1/2 of nitrogen levels. Potassium should be close to 1/2-2/3 that of nitrogen.
During flowering, phosphorus takes the lead. Keeping nitrogen at 1/2 and potassium at 1/2-2/3 the strength of phosphorus is a common benchmark. It is important to note that potassium is consistently maintained throughout both stages at 1/2-2/3 the level of the main nutrient. Staying close to this ratio will prevent a nutrient lock-out.
A nutrient lock-out is when nutrients combine to form compounds that your plant can’t use. Many liquid and powder nutrients need to be added in a specific order to prevent them mixing with other compounds and forming unusable compounds. Make sure to read the instructions on any nutrients used to prevent wasting product or damaging plants.
NPK 2
Thanks for reading.