How do I use NPK to grow the Best Cannabis?
If you are planning on growing cannabis, there is a lot of information to absorb. One of the most basic and important elements of growing great cannabis is making sure it has the right nutrients. Like any plant, cannabis has a special diet made up of three main elements. Instead of eating fats, protein and calories like humans, plants need nitrogen, phosphorus and potassium or NPK for short.
The three main nutrients are known as macro-nutrients and basically all plants need them to survive. From giant redwood trees to Venus Fly Traps, Nitrogen, phosphorus and potassium are the building blocks of a healthy plant. Yet not all plants require the same amount of each element so care is needed to provide the right mix of nutrients.

So how do I get the right mix of nutrients?
The easiest way to adjust the nutrient balance of soil is to add fertilizer. Modern cultivators have a wide range of products available to choose from. Most garden supply stores have a dizzying array of fertilizers in a myriad of forms. Liquid, solid, powder, organic, the list of methods for delivering nutrients to plants goes on. Each method or delivery system is keyed to different growing techniques but there is some basic info on every one of the bottles on the shelf.
All fertilizer has three numbers on it referred to as the NPK levels. The three numbers on fertilizer represents the value of the three macro-nutrients used by plants. These macro-nutrients are nitrogen (N), phosphorus (P) and potassium (K) or NPK for short.
Why do they call it NPK?
People have been growing plants for a LONG time. Some of the most important cultivators we have records of are the Greeks. Not because they were inherently special, but they helped propel language into a new era through conquest and trade so people often refer to them as founders of “Western Societies”. Greek also provided the root for the development of Latin. The Greek impact on cannabis cultivation permeates deeper than many understand.
Take the names of the nutrients; Nitrogen, Phosphorus and Potassium. Nitrogen is a French word coined in 1790 by Antoine Chaptal from Greek nitron “sodium carbonate” and French gène “producing,” which is itself a derivative from Greek -gen “giving birth to”.
Phosphorus comes from Greek φῶς and -φόρος (phos and phoros), which means “light bearer”. They called it that because white phosphorus emits a faint glow upon exposure to oxygen. Phosphorus was also the ancient name for Venus, or Hesperus, the (Morning Star) which has a faint glow. Then we get to Potassium which is often referred to as potash.
The English “potash” means “pot ash” as potassium is a compound prepared from an alkali extracted in a pot from the ash of burnt wood or tree leaves. Potash is a literal translation of the German potaschen, which means “pot ashes”. The symbol K is from the Latin name kalium, which means “calcined” or powdered ashes.
So how do I read the NPK values?
All modern fertilizer has the NPK values on the packaging. These values scale with potency. The higher the number, the more concentrated the nutrient is in the fertilizer. For example, fertilizer listed as 20-5-5 has four times more nitrogen in it than phosphorus and potassium. A 20-20-20 fertilizer has double the concentration of all three nutrients than one with 10-10-10.
Plants need nitrogen, phosphorus and potassium to grow. Without enough of any one of these nutrients, a plant will have issues and may even die. But they need each for different reasons. Nitrogen (N) is largely responsible for the growth of leaves and foliage on the plant. Phosphorus (P) is largely responsible for root growth and flower or fruit development. Potassium (K) helps the overall functions of the plant like stem development and water absorption perform correctly.
How do I know how much to use?
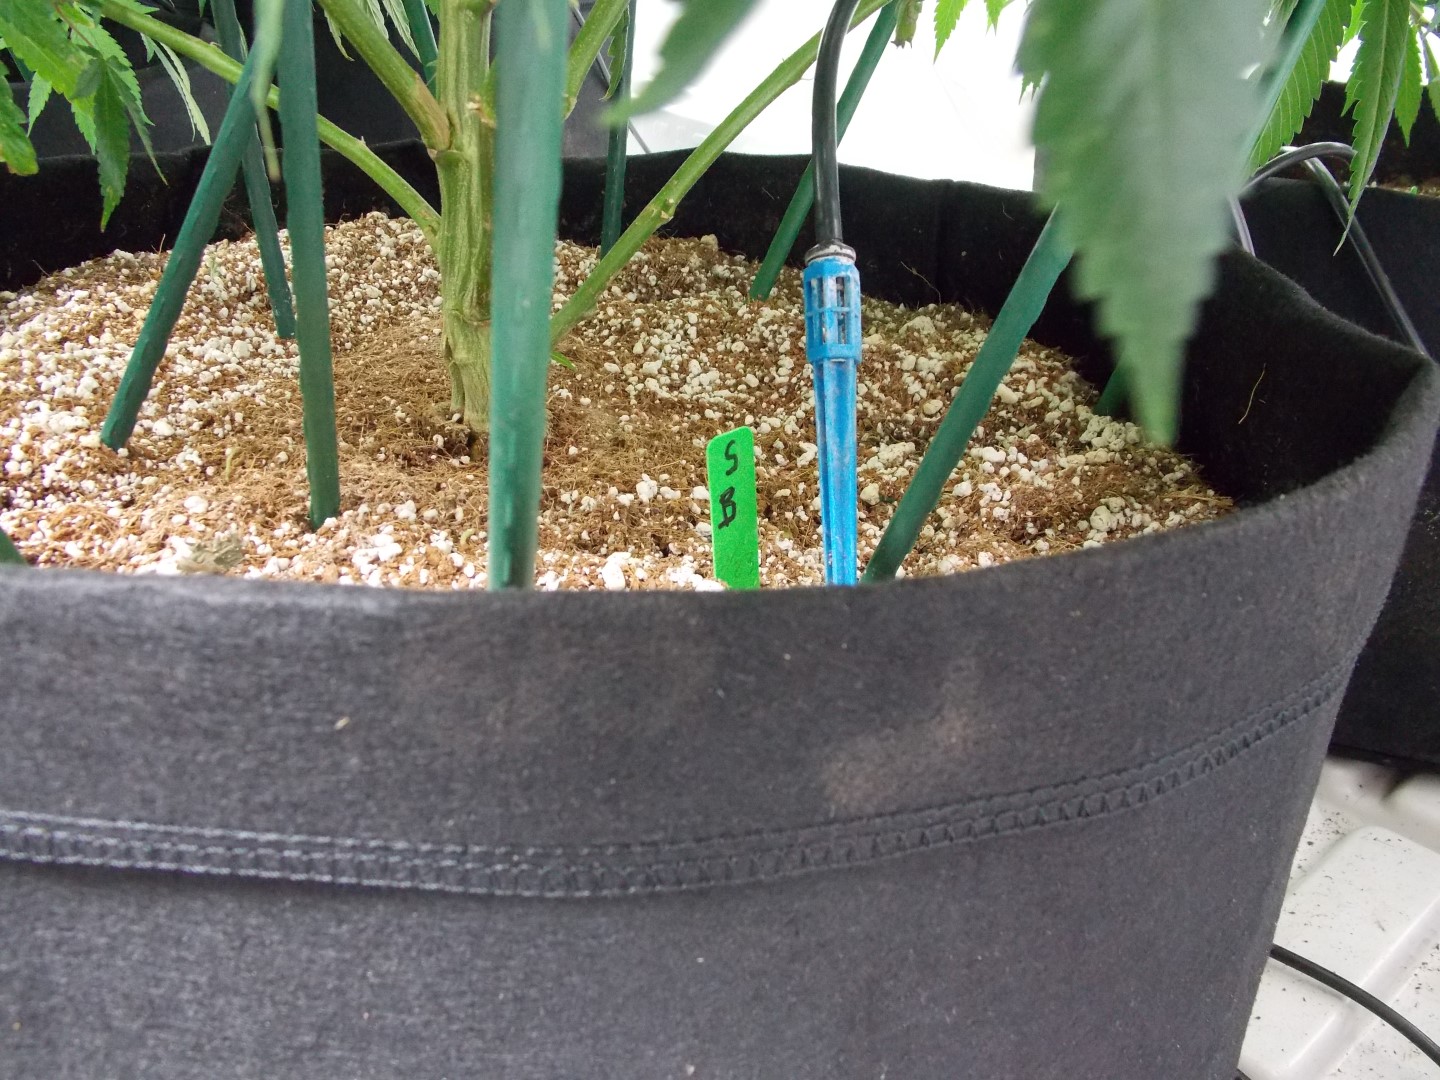
For cultivators working with prepared soil like Dakine 420 or Fox Farms, the level of nutrients in the soil is labeled. For cultivators working with native soil, getting a soil test is a great way to measure its health and fertility. These tests are generally inexpensive, but vital when it comes to growing and maintaining healthy plants in the garden.
Soil tests are used to determine the current fertility and health of your soil. Once a cultivator has this information, they can find the right formulation to bolster what is already there. Soil tests also show the pH in addition to macro-nutrient levels.
By measuring both the pH level and pinpointing nutrient deficiencies, a soil test can provide the information necessary for maintaining optimal fertility. Most plants, including grasses, flowers, and vegetables, perform best in slightly acidic soil (6.0 to 6.5). Others, like azaleas, gardenias and blueberries, require a somewhat higher acidity in order to thrive.
Why do most nutrients have a Veg and Bloom portion?
Not all plants require the same nutrients throughout their lives either. Marijuana requires a higher nitrogen ratio during the vegetative and early flowering stages as it is the main component for plant growth. During flowering the plant prefers a lower nitrogen and higher phosphorous NPK fertilizer ratio because phosphorus is important for flower and resin development. Adjusting the micro-nutrient levels can also change the absorption rates of macro-nutrients.
The NPK fertilizer ratio does not show the micro-nutrients. These are trace elements provided by most soils. They need to be added when using a hydroponic grow system. Having ‘hard water’ or water with calcium above 200 PPM makes adding more calcium counterproductive and can lead to nutrient lock-out. This is why several companies offer micro-nutrients for hard water.
So are all fertilizers with the same NPK interchangeable?
Even given the exact same NPK ratio, not all formulations are the same. The NPK elements of any fertilizer are bound up in molecular compounds with differing degrees of bio-availability. Companies may offer their nutrients as inorganic salts, oxides, or even as colloidal minerals. Depending on the individual system (soil, hydroponic, aeroponic) one method may be preferable over another.
Be sure not to mix nutrient lines from different manufacturers without knowing how their micro-nutrients interact. This is a difficult process for most without a chemistry degree so it is advised to see if other cultivators have experimented with identical mixtures. If their results are and mimic their process. Remember that order of operations is important and to follow their process exactly.
What should the NPK levels be?
Even more important than the actual numbers on the package is the ratio of each of the primary nutrients to each other. One cultivator can grow using nutrients with a rating of 15-30-15 and another can get identical results using 5-10-5 because the proportion of each nutrient is the same. During vegetative-growth, phosphorus levels should remain at about 1/2 of nitrogen levels. Potassium should be close to 1/2-2/3 that of nitrogen.
During flowering, phosphorus takes the lead. Keeping nitrogen at 1/2 and potassium at 1/2-2/3 the strength of phosphorus is a common benchmark. It is important to note that potassium is consistently maintained throughout both stages at 1/2-2/3 the level of the main nutrient. Staying close to this ratio will prevent a nutrient lock-out.
A nutrient lock-out is when nutrients combine to form compounds that your plant can’t use. Many liquid and powder nutrients need to be added in a specific order to prevent them mixing with other compounds and forming unusable compounds. Make sure to read the instructions on any nutrients used to prevent wasting product or damaging plants.
Thanks for reading.