chewy chocolate chip cookies25

Ooey-Gooey Chewy Pot Cookies

What You Need

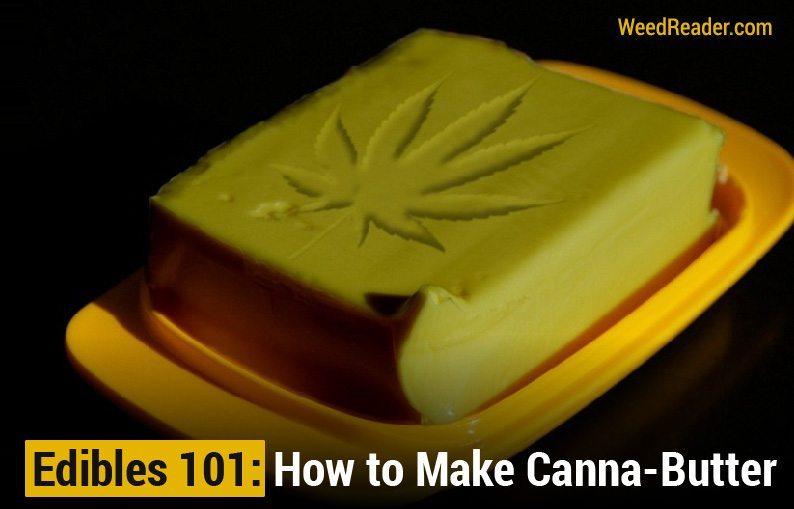
  • 1/2 cup canna butter, softened (click here for our canna-butter recipe!)
  • 1 cup coconut palm sugar (or 1 1/2 cup brown sugar)
  • 3 tbs milk of choice (nut, dairy, plant)
  • 2 tsp molasses
  • 2 tsp maple syrup
  • 3 tbs unsweetened apple sauce
  • 1 tbs corn starch
  • 2 tsp vanilla extract or 1 vanilla bean pod
  • 2 cups flour (wheat, rice, coconut)
  • 1 tbs baking soda
  • dash of salt
  • baking sheet
  • large mixing bowl or food processor
  • whisk
  • rubber spatula
  • metal spatula
  • optional: chocolate chips, carob chips, chopped nuts, flaked coconut, dried fruit, heaped spoonful of cocoa, cacao powder, or milled flaxseed

Directions

  1. Preheat oven to 350F. In a bowl or food processor, combine the first 8 ingredients until it resembles a brown, syrupy goo. In a separate bowl, mix together flour, salt, and baking powder. If you choose to, add in any other dry ingredients now.
  2. Add the dry mixture to the syrup and blend until thoroughly combined. The resulting dough should be thick, and slightly sticky. Add in small amounts of flour or cornstarch as needed if it’s too sticky, and dashes of milk if it’s too stiff.
  3. Fold in any remaining ingredients such as chocolate chips or nuts. Line the baking sheet with parchment paper for easier clean-up, otherwise leave it ungreased & drop spoonful-sized amounts of dough in even rows. (Or, vary the size of the cookie. A few bite-sized ones may be handy for on-the-go, or if you don’t want a massive dose.)
  4. Bake cookies for 12-15 minutes. The oil may bubble and sizzle through the dough as it cooks, but don’t be alarmed–as long as you keep an eye on them, they shouldn’t burn. Remove from the oven when the edges are golden brown and hold together when poked. Let cool a few minutes before removing cookies from the pan.

Warm and at room temperature, these will be some ooey-gooey, chewy pot cookies! When I made them the canna butter was coconut-oil based, so when they cooled the edges were perfectly crispy and the middles remained soft and chewy. The flavor of cannabis isn’t overwhelming, but definitely detectable, and I find it’s balanced well with immense amounts of chocolate.

Pro tip: Freeze half of the dough, and try making the cookies a little smaller. You might be surprised at the strength/potency, so start small and see how your edibles effect you. If you discover you could handle a bigger cookie, or decide you want to go all-out and bake a giant space rock, you’ll be glad to have the dough saved!

Photo by Veganbaking.net

weed butter 01 01

Edibles 101: How to Make Canna-Butter

Edibles (food containing psychoactive cannabinoids) are a delicious, easy, and portable method of consuming cannabis, and beg to be shared with many. The best party favor, incredibly effective for those bothered by smoking, the greatest afternoon nap you’ve ever had — edibles have the potential to satisfy anyone’s weed needs.

The ~*secret ingredient*~ in edibles is what’s generally referred to as ‘canna-butter.’ It’s made by heating cannabis together with any vegetable oil, nut butter, or dairy/non-dairy butter — anything with a high fat content for THC molecules to bond with. I choose the animal-friendly option of coconut oil, or a dairy-free alternative like Earth Balanceâ„¢.

How you intend to use your ‘canna-butter’ should influence which fat you use. For baking, go for a fat with neutral flavor (like coconut). If you like more savory, I’d suggest olive oil or peanut butter, something you could add a spoonful of to pasta or a smoothie when you’re feeling frisky.

What You Need

  • butter or oil (peanut butter, cacao butter, canola, etc.)
  • 1/8 or 1/4 oz of cannabis (you don’t need to sacrifice an entire ounce, honestly, even when using low/mid-grade quality! The trick is making sure the THC has been activated enough through gentle heat. I often use saved-up ‘already vaped bud,’ or ‘AVB’, to cut time and use every last bit.)
  • sauce pan
  • whisk or rubber spatula
  • jar or tupperware for storage

Directions

  1. Grind or finely chop your cannabis. If you’re using fresh, it would be wise to toast it first. Set your oven or toaster oven to its lowest temperature and toast the weed in a little tinfoil packet until it’s dry/crumbly. (side note: Your place is going to smell HEAVENLY, but dank — if that’s a concern, turn on an extractor fan or open a window.)
  2. In the saucepan over medium heat, melt your oil or butter. Once melted, add the cannabis. The ratio of fat-to-pot should be about 2:1. You’ll want to keep the mixture simmering throughout, as boiling may burn the weed. Stirring occasionally, you should be able to see your butter turn a rich hemp green.
  3. Many will say to simmer for at least an hour, but I’ve found 20-25 minutes to be plenty of time, and plenty effective. Ultimately, it’s up to you. So, whether it’s after 20 mins or 3 hours, remove the mixture from heat and set aside to cool for a bit.
  4. Strain the mixture through a nut/cheesecloth into your chosen container. (Save the detritus to use in edibles if you don’t mind grittiness.) You can freeze your canna-butter, which I’d especially recommend if you’ve used dairy, and it should last a few months. Oils will do fine in or out of the fridge, just store it air-tight and in a dark place.

Use canna-butter in your favorite recipes as the butter/oil substitute, usually in a 1:1 ratio. If you’re not fussed with making a whole batch of cookies, spread some on toast! Either way, enjoy, be safe, and know that when ingesting edibles the effects may be stronger and last longer than what you’d find with smoking or vaping, so plan accordingly!

Image credit: nwcana.